Showing posts with label cheap DIY. Show all posts

Tuesday, August 19, 2014

Bread Charcuterie Board Decor

Hi all!

The (super easy) project I'm showing today I also tackled last week while hubbs was away. I must say, he was quite impressed with all I did while he was gone haha!

For weeks months now, I've had this charcuterie board. And yes, I did have to Google to figure out what it was even called. I may have started my search with "wooden kitchen paddle". Needless to say, I'm not the most well versed in kitchen lingo. This board was in the goodie bags at a design event a while back, and while I may not have known it's real use, I did want to do something with it!

So I transformed that simple hunk of wood into.... 


Who doesn't love Julia Child and her wise words?? 

I knew I wanted to paint it. I knew I wanted a food related quote. It's now perfect to hang in our kitchen! 
The process to do this was ridiculously simple.
Two words.
Mod Podge. 
I love the stuff! Granted, there was a tad more to it than that, but not much. I first painted the board black. You can paint yours any color your little heart desires. I've always wanted a sleek, modern, kitchen with punches of red, so I didn't distress it at all, but you easily could. I then found this quote, and arranged the words in PowerPoint into a configuration I liked, making sure it'd fit within the board when printed. 

After the paint is dry and you've printed and cropped your image, out comes the Mod Podge. I gave the painted wood a couple of coats using a foam brush, as well as the back of the paper. I wanted there to be a good barrier between the black paint and the white paper. I'm not sure if this step is necessary, but I just wanted to make sure the black didn't show through the paper. 

When all of that dried, I added another coat to the board, and carefully placed the paper where I wanted it. While that was still wet, I added a thin coat of Mod Podge to it all. You'll start to see bubbles in the paper at this point. I used an old credit card to carefully smooth all of those bubbles out. This is an important step, because if you don't get those bubbles out now, they'll be there forever. Once I was satisfied that I got the bubbles, I let the whole thing dry. 

Over the next day or so, I added a few more coats of Mod Podge, just to make sure the paper was well coated and adhered to the board. My opinion was that more coats are better than too few. 

See, that wasn't hard at all, was it? I haven't decided how I'd like to hang it yet. I'm thinking my options are to add hanging hardware to the back, or tie a fun ribbon to the hole in the board. What would you do? 


Sunday, August 10, 2014

Transferring Images on a Burlap Canvas

Hey all!

Hubbs is away this week, and I frankly had nothing better to do than craft! Saturday, I made my way over to Michael's (and Home Goods... and Taco Bell....) to wander around and come up with something to do. Luckily for me, it was SALE time! My favorite as always! I was beyond thrilled when I came across a rack of different sized burlap canvases for 70% off! Yup! I had a heck of a time choosing which size, since I didn't have a particular project in mind. But I finally settled for a 3-pack of  12" x 16" flat canvases. Three.. for $3! Yippee!


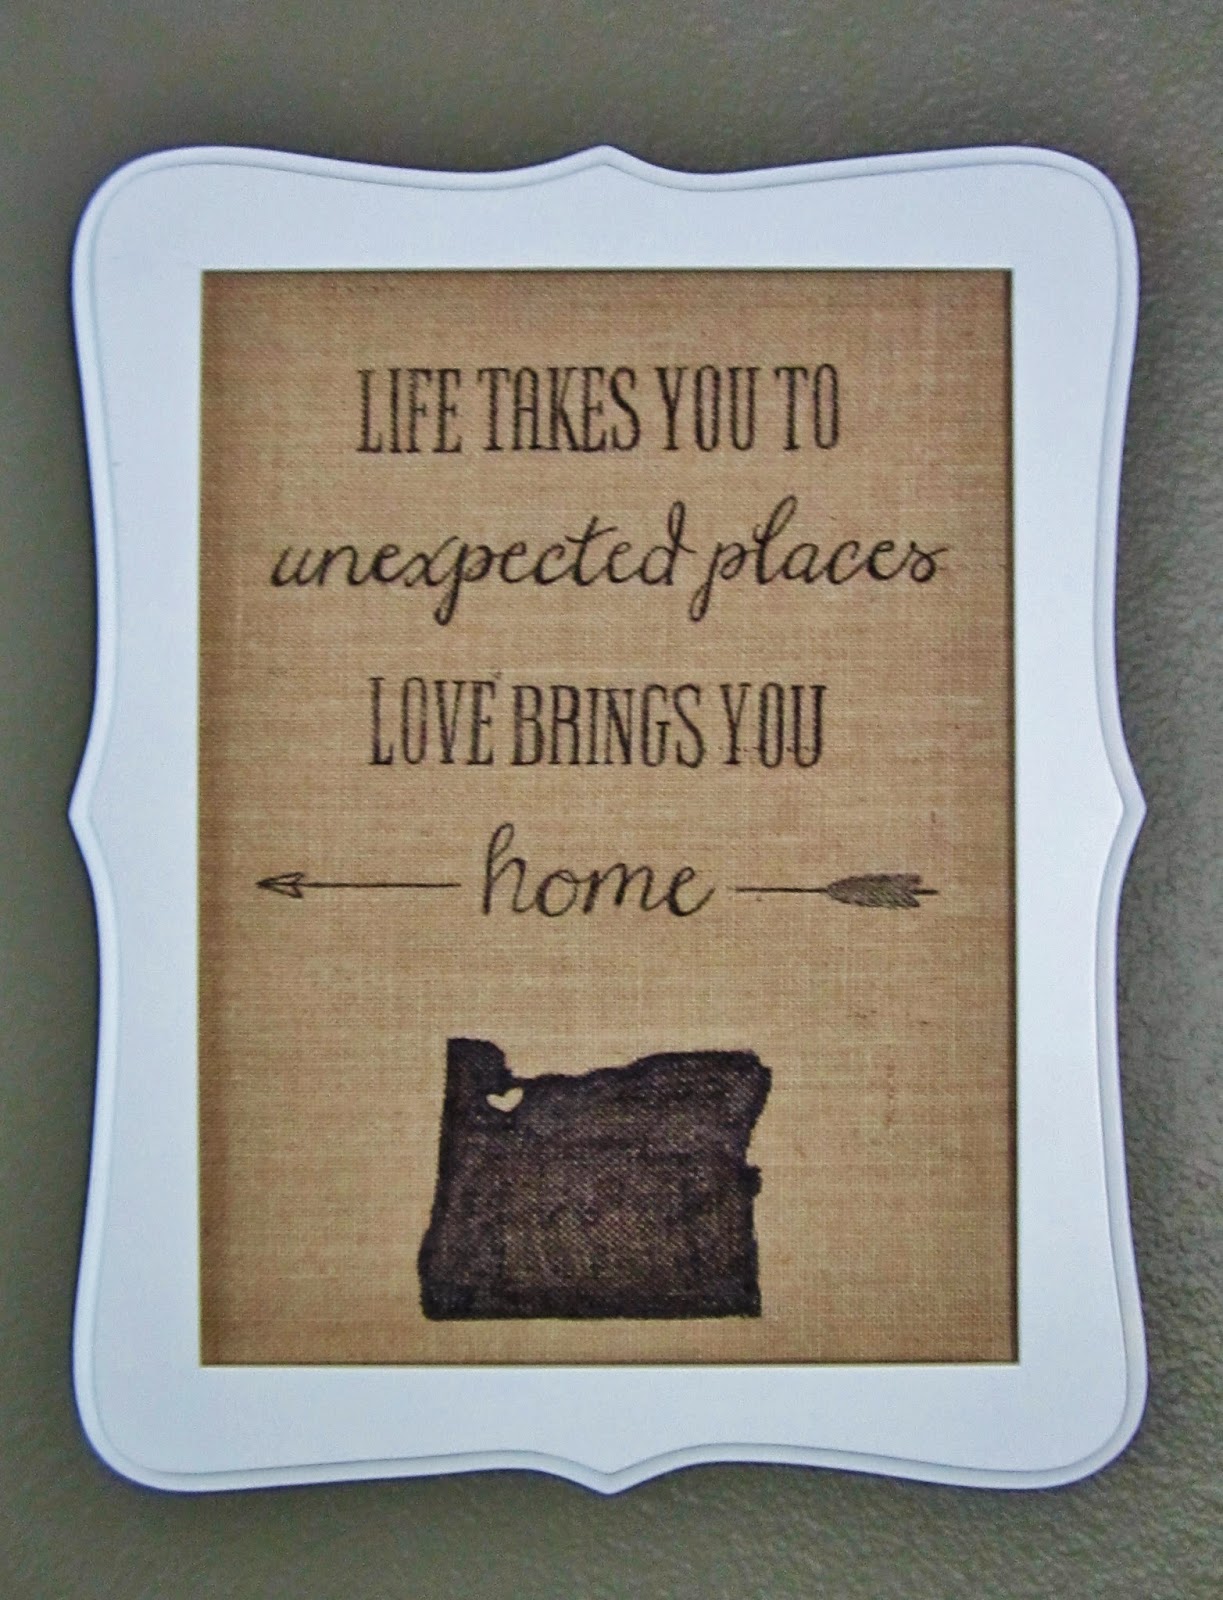
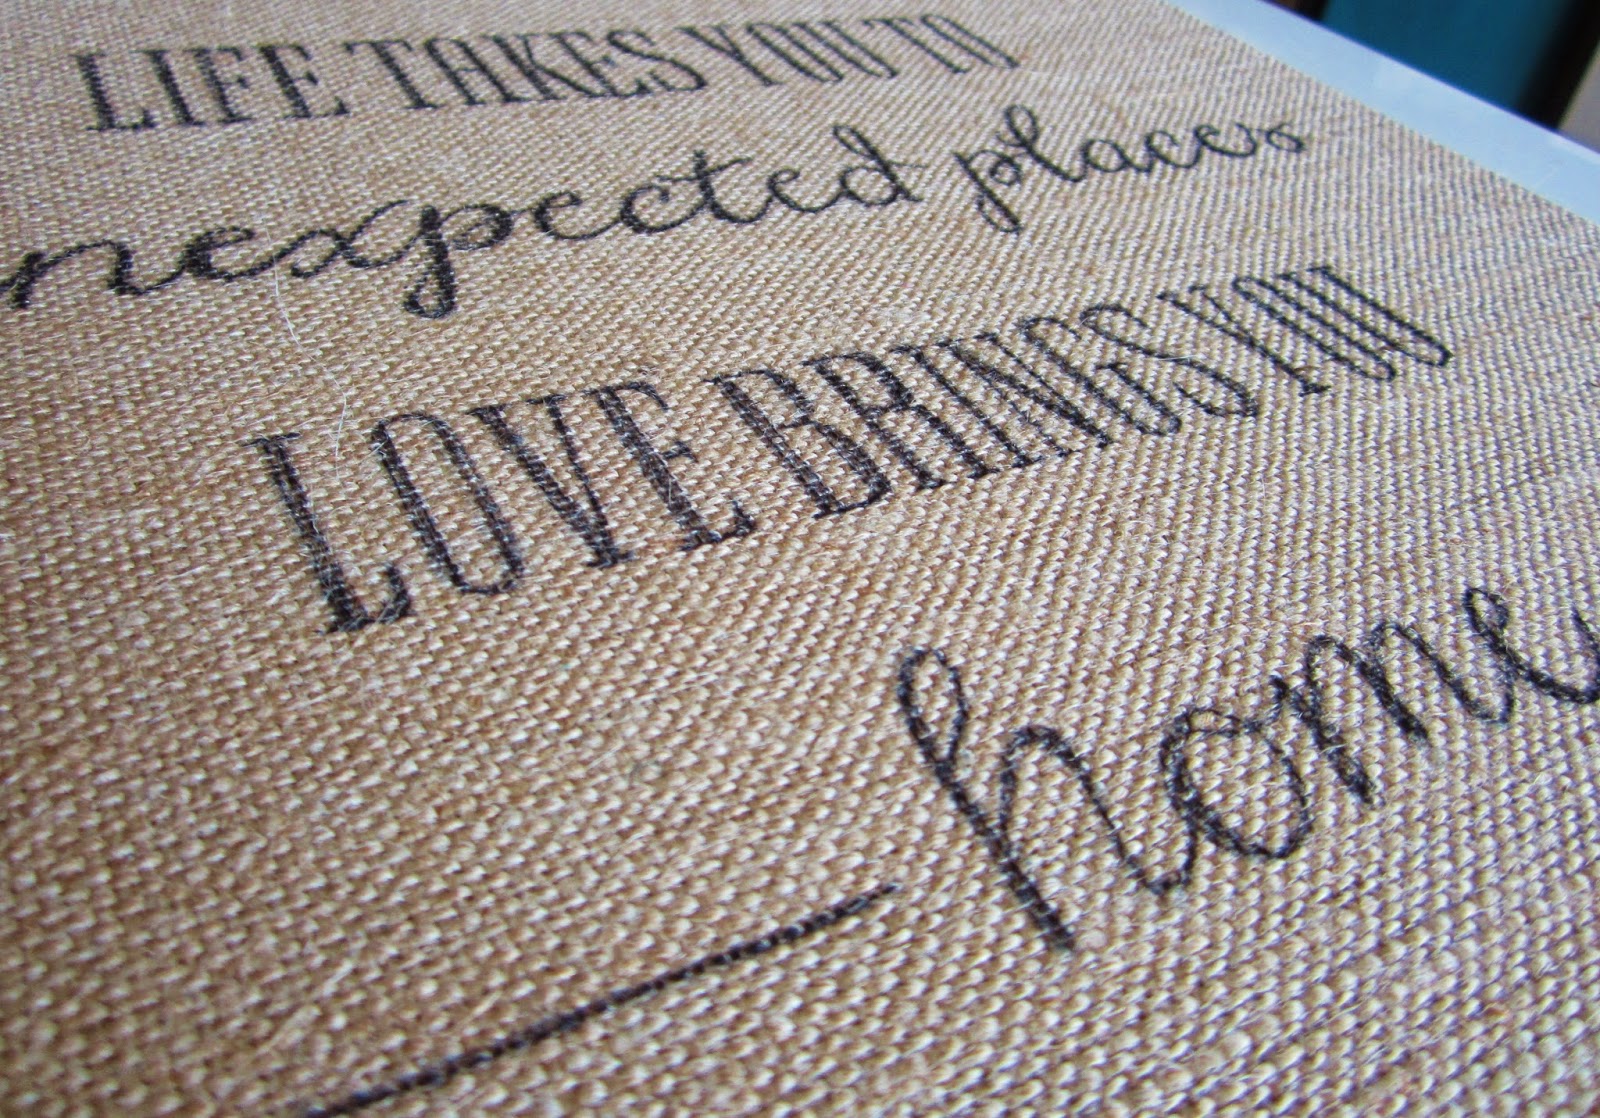
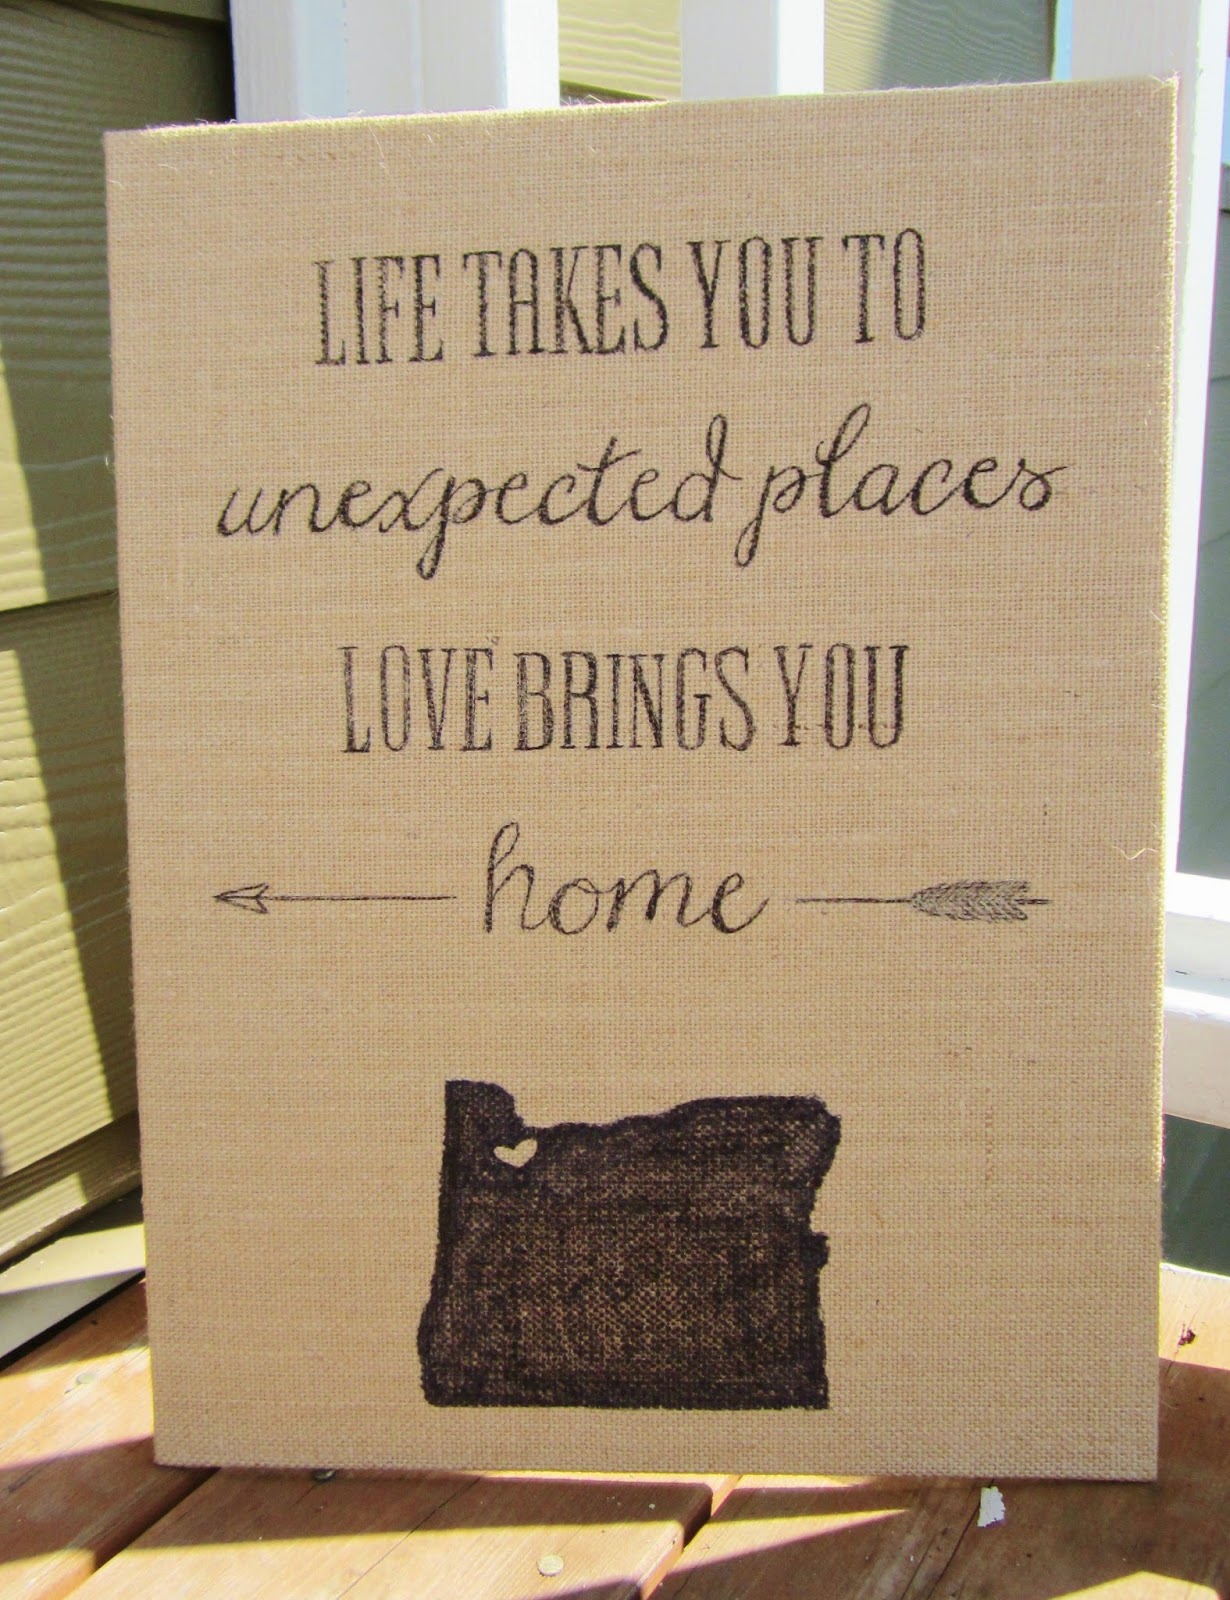
Today I finished my first. What I'm going to do with the other two is a secret still up in the air for now. This was something I had never tackled before, but really wanted to for a while now. Using freezer paper to transfer a printed image or words onto fabric.

**Since originally posting, I've tackled this project a few other times, and have included tips and tricks at the bottom. So don't forget to scroll down so you become a pro way faster than I did! :) **


I knew I wanted a quote for our walls, but also knew I didn't want to freehand this one. Unlike a regular white canvas, I can't just paint over my mistakes. So I used everyone's favorite crafting resource, Pinterest, to go back to that long saved pin of mine. The site mentioned using wax paper, but I had freezer paper on hand, so that's what I used. And, boy did it work way better than I had hoped!

Here's my process (with tips along the way):

  • Design an image on your computer. I used PowerPoint. Make sure that it will print the size you need. Since my canvas was bigger than my printer allowed size, I printed pieces of the image on multiple sheets. 
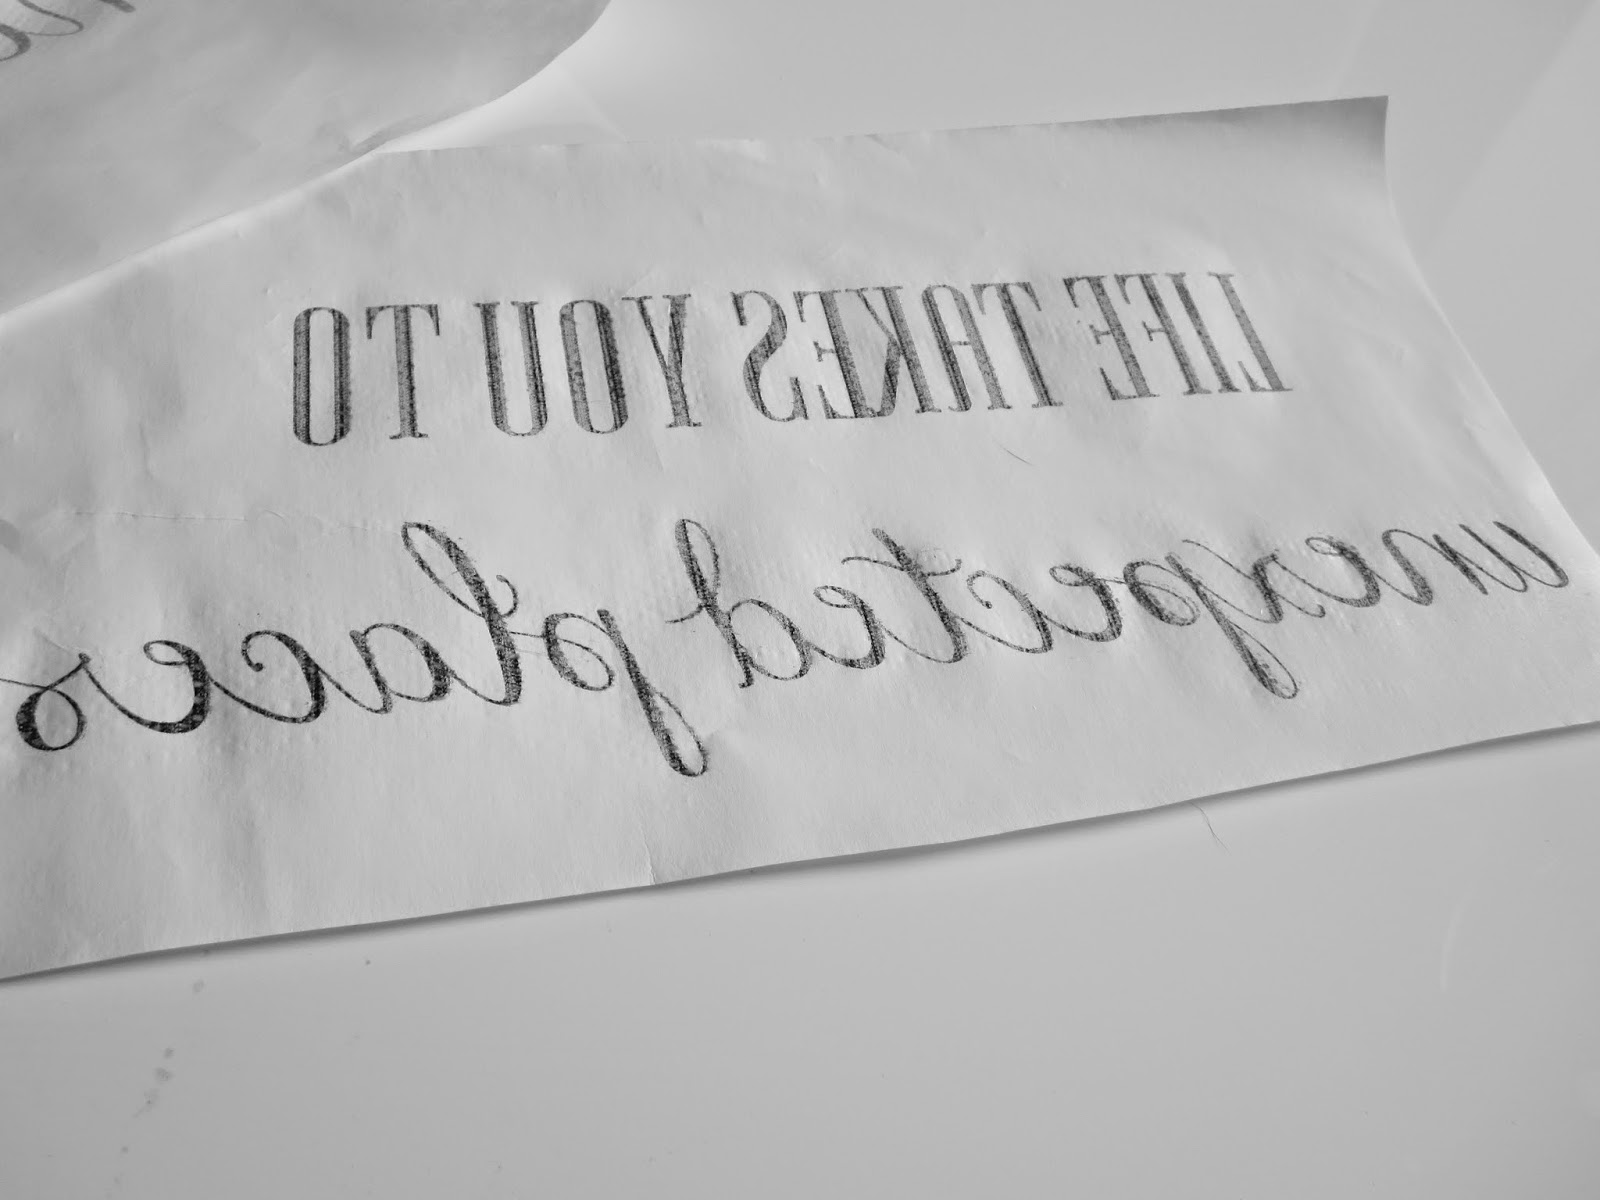
  • If there are any words or one-directional images, go into your printer settings to "mirror" the image. 
  • Don't quote me on this, but I assume any paper with at least one waxy side will work for this project. Basically, you don't want the ink to be allowed to soak into the paper and set. I used freezer paper. 

  • My paper came on a roll, like most kitchen paper, so you'll need to cut it into enough sheets to print your image. Straighten the sheets using the side of a table, so they don't want to roll up as badly.
  • Make sure you are using an ink-jet printer for this. Laser/toner printers just won't do! We need the ink to pool on the surface of the paper, and since Laser printers don't actually use ink, that would be a problem. 
  • Carefully place a single sheet into the printer tray, making sure the waxy side will be the printed side. I had some major problems with this, because if the sheet wasn't placed well, it would start to print crooked, jamming the printer, and crinkling the paper. Luckily, freezer paper isn't expensive! 
  • Do not touch the ink! Be very careful removing the sheets from the printer, and do not stack them on top of each other. Like I mentioned earlier, the ink is just sitting on top of the paper, and it can be smeared very easily. 
  • Carefully place the sheets onto your canvas, ink side down. The paper is thin enough that you should't have much of an issue lining up the image correctly. Trim the paper if you need to. Then tape it to the canvas to hold it still. 
  • Use an object to begin rubbing the back of the freezer paper, transferring the ink to the canvas. You can use just about anything for this, I used the handle end of the scissors that happened to be next to me at the time.  Rub, rub, and rub some more.
  • Carefully lift up one side of one of the sheets, checking to see if there are spots you missed. If so, lay it back down, and keep rubbing. Repeat as necessary. 
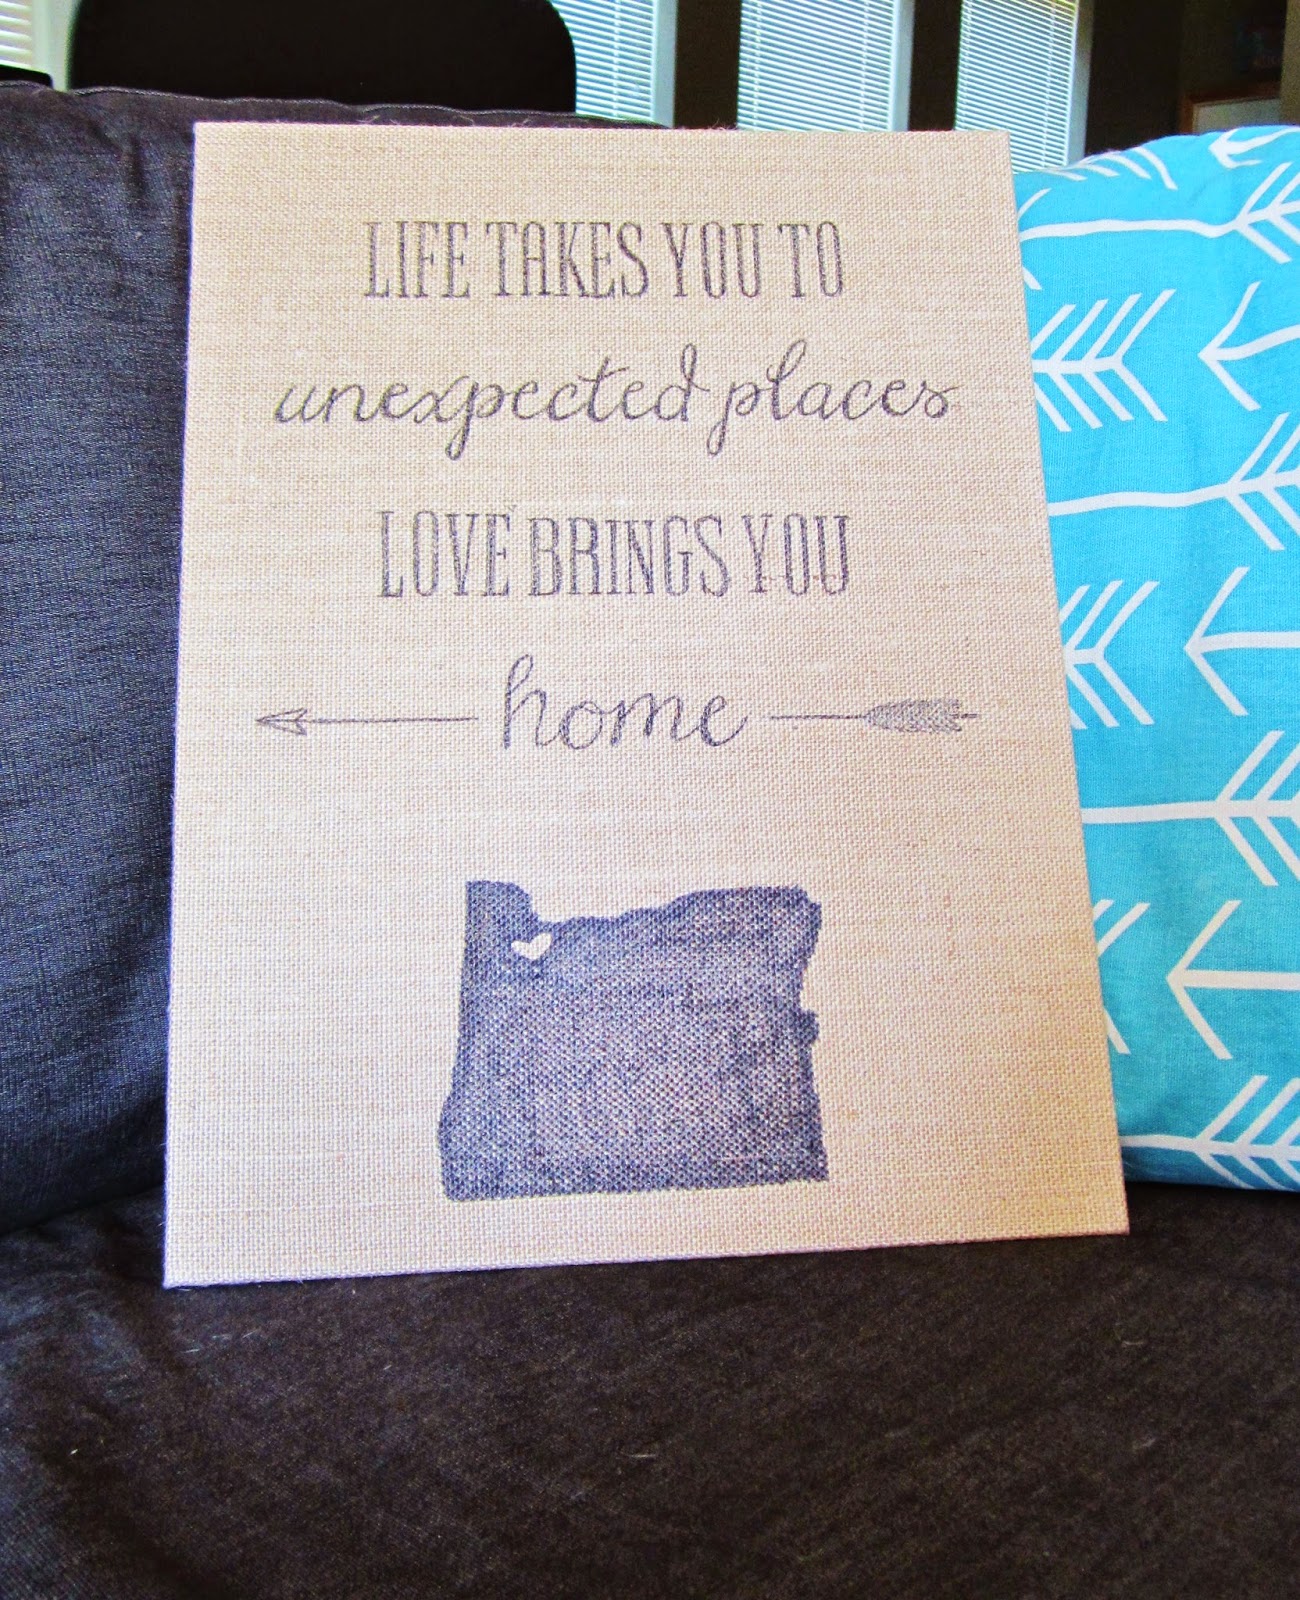
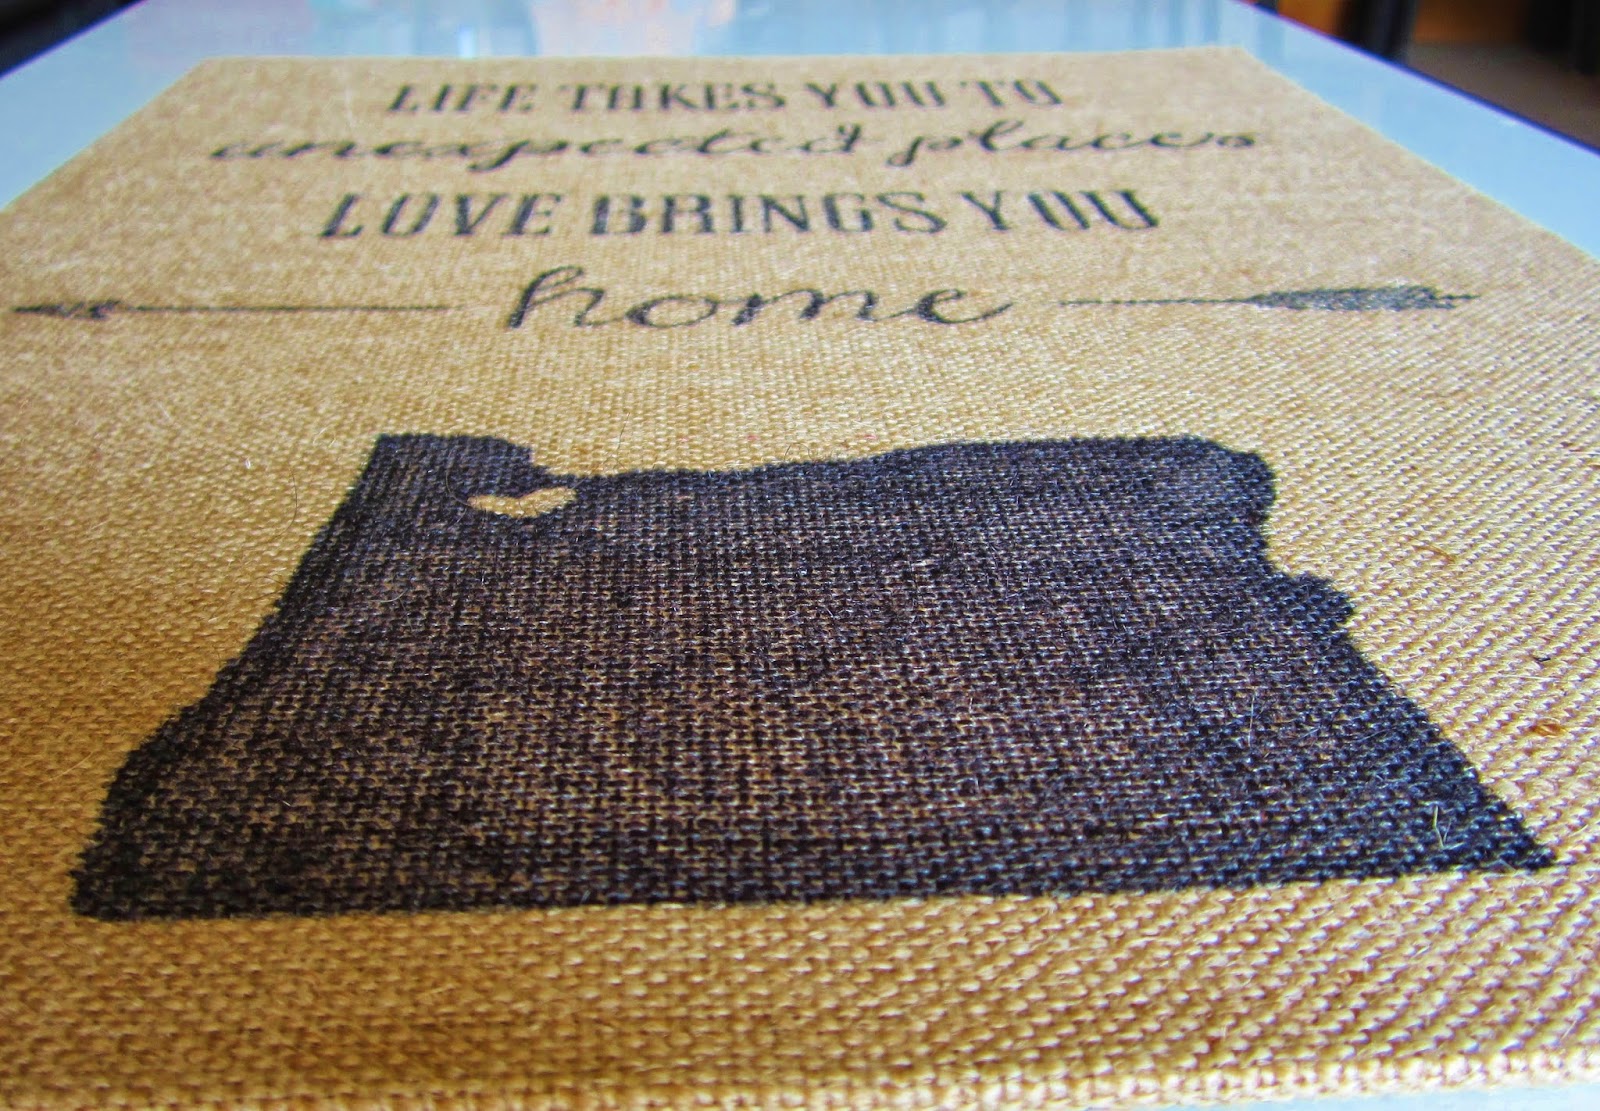
  • Even though the transfer worked wonderfully, I wanted to make it stand out a little more. So I took a sharpie (fine point), and started tracing everything. At this point, it's basically coloring, so it's not hard, I promise. Go as slowly as you need to. I used a fatter sharpie on the Oregon image, since it was more surface area. 
  • Done! Now, how easy was that?? I now have a canvas that looks professionally printed, but only spent $1! Now, for the other two.... 


I promised tips, did I not?? I just wanted you to see all my pretty pictures first! ;)

~When working on a canvas larger than your printer, you have to piece together multiple prints like I did. But with wet, smudge-able ink, it's not always easy lining up all those parts and pieces. So when I split up my image, I duplicated part of it on each page. When I printed, I then trimmed as needed, and actually overlapped the pieces to line up the words perfectly. 

~An easy way to do this is to tape the first piece to a window, then overlap/tape all the other pieces to that one. I say window, because then the repeated image is easily seen through both layers of paper to line up easily.  It then becomes one, easier to deal with image that you can then transfer to your canvas.

~To get the image centered on your canvas, have a ruler handy. Gently place the image, ink side down, onto the canvas, but DO NOT PRESS yet. Since the paper is translucent, you can use the ruler to gently measure from the outsides of your image to the edges of the canvas. By tweaking and measuring, it's pretty simple to get the image centered. Then go ahead and press down to complete the transfer. 

Happy Crafting! 

Wednesday, December 11, 2013

Holiday Decor in a Small Apartment

This isn't only our first year as a married couple. It's also the first year we will be on our own Christmas morning! So we wanted to jazz up our holiday decor a little this year! So I wanted to share a little of what we did.

Our budget was smaller than our 800 sf apartment, so sometimes creativity was in order! I'll break down all the little ways we made our home a little more festive this year! 

Wreath, of Course!

A wreath is a wonderful way to decorate, without taking up much space at all! My in-laws gave us this wonderful, real evergreen wreath, but with the simple red bow that accompanied it, I felt it was lacking something. I took a modern spin on it, adding a chalkboard wooden plaque on top! I can change out the words whenever I please! :) 


A Christmas Tree... 

This is our first-ever Christmas Tree! I told you, our apartment is small. So we found this wonderful 4', pre-lit gem at Michael's Crafts, on sale for $20! Steal! Remember, we have a tiny budget, so I placed a piece of cardboard on the top of an upside-down storage tub. I then covered the whole she-bang with a yard of some pretty shimmer fabric, and suddenly I had a raised tree skirt to help make our little tree the highlight of the room! 


...With Ornaments!


This ornament was inspired by an idea from Pinterest, our favorite creative friend. This is actually our first new Christmas tradition! I wrote the year with a special glass pen, and all the wonderful things that happened during the year. It's a wonderful keepsake, that can include children in later years! I'm also considering filling it with small items to further remind us of the year. Thoughts? 


My Maid of Honor gave us this adorable ornament as part of our wedding gift this year! She cleverly cut up our wedding invitation, and curled pieces to highlight them. She then arranged them in this ornament, finishing it off with some jute ribbon! Such a wonderful memory of our wedding we can bring out every year. 


Mantle (or top of TV unit) Decor 

We got these apothecary jars as a wedding present, and I love finding creative ways to display them! I simply bought some cheap but cute ornaments at the Dollar Tree to fill a couple of them. And the last one has candies, because who doesn't like some chocolate in their life every now and then?? These are on the top shelf of our "mantle" aka TV unit, along with our next items....

Jeremy was given these little village homes from his parents, so we might as well display them! Free decor! I paired them with one of my DIY creations from this year, a popsicle-stick tree! Its made from a cardboard cone, a wooden candlestick, and a mixture of mini-popsicle sticks and flat toothpicks. I then spray painted the whole thing with silver glitter paint, and glued a baker's twine garland around it. Each swag of the twine is finished off with a small sticky crystal. I was stumped on the topper, but my grandma saw what I was working on (we did these as a Thanksgiving bonding craft this year), and conveniently pulled out the cute little bow from her stash of goodies! Thanks Grandma! 


We Can't Have Christmas Without Stockings!  

I made these burlap stockings this year as well! I simply followed some directions I found on google. It's easier than you think, I promise! Though I will say, the burlap isn't the friendliest fabric to work with! I topped it off with a black and white fat quarter I had sitting around. (don't forget, cheap!) To personalize each one, I had these wooden letters from my scrapbooking days, and I mod-podged glitter onto each one! 
And being in an apartment, 3M's amazing removable wall hooks are a renter's best friend!

And of course, we can't forget Jetson's stocking too! I just carefully painted mod-podge onto this wooden coin in the shape of a paw, and sprinkled the glitter onto it! I then used another coat of the mod-podge to seal it all in. 


Share with me the creative, cheap, and space-crunching ways you've decorated this year! And I hope I can get your creative juices flowing! Until next time!