Hubbs is away this week, and I frankly had nothing better to do than craft! Saturday, I made my way over to Michael's (and Home Goods... and Taco Bell....) to wander around and come up with something to do. Luckily for me, it was SALE time! My favorite as always! I was beyond thrilled when I came across a rack of different sized burlap canvases for 70% off! Yup! I had a heck of a time choosing which size, since I didn't have a particular project in mind. But I finally settled for a 3-pack of 12" x 16" flat canvases. Three.. for $3! Yippee!
Today I finished my first. What I'm going to do with the other two is
**Since originally posting, I've tackled this project a few other times, and have included tips and tricks at the bottom. So don't forget to scroll down so you become a pro way faster than I did! :) **
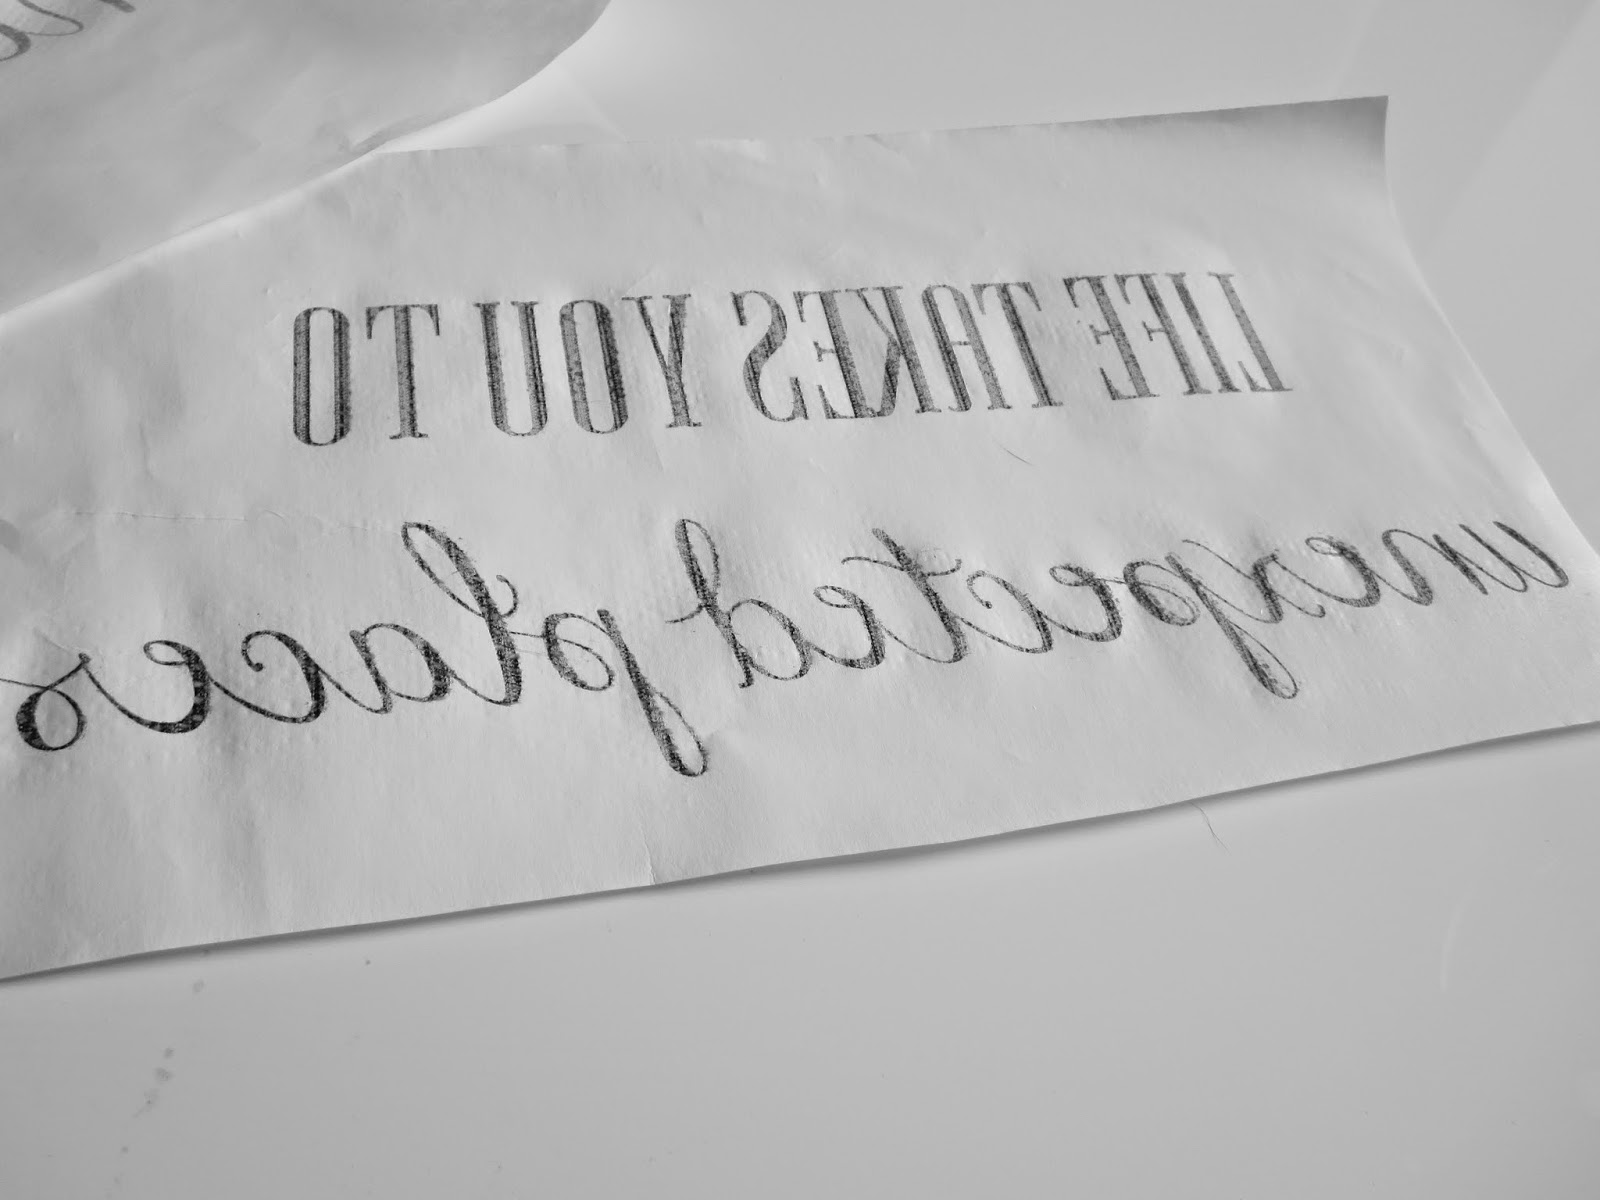
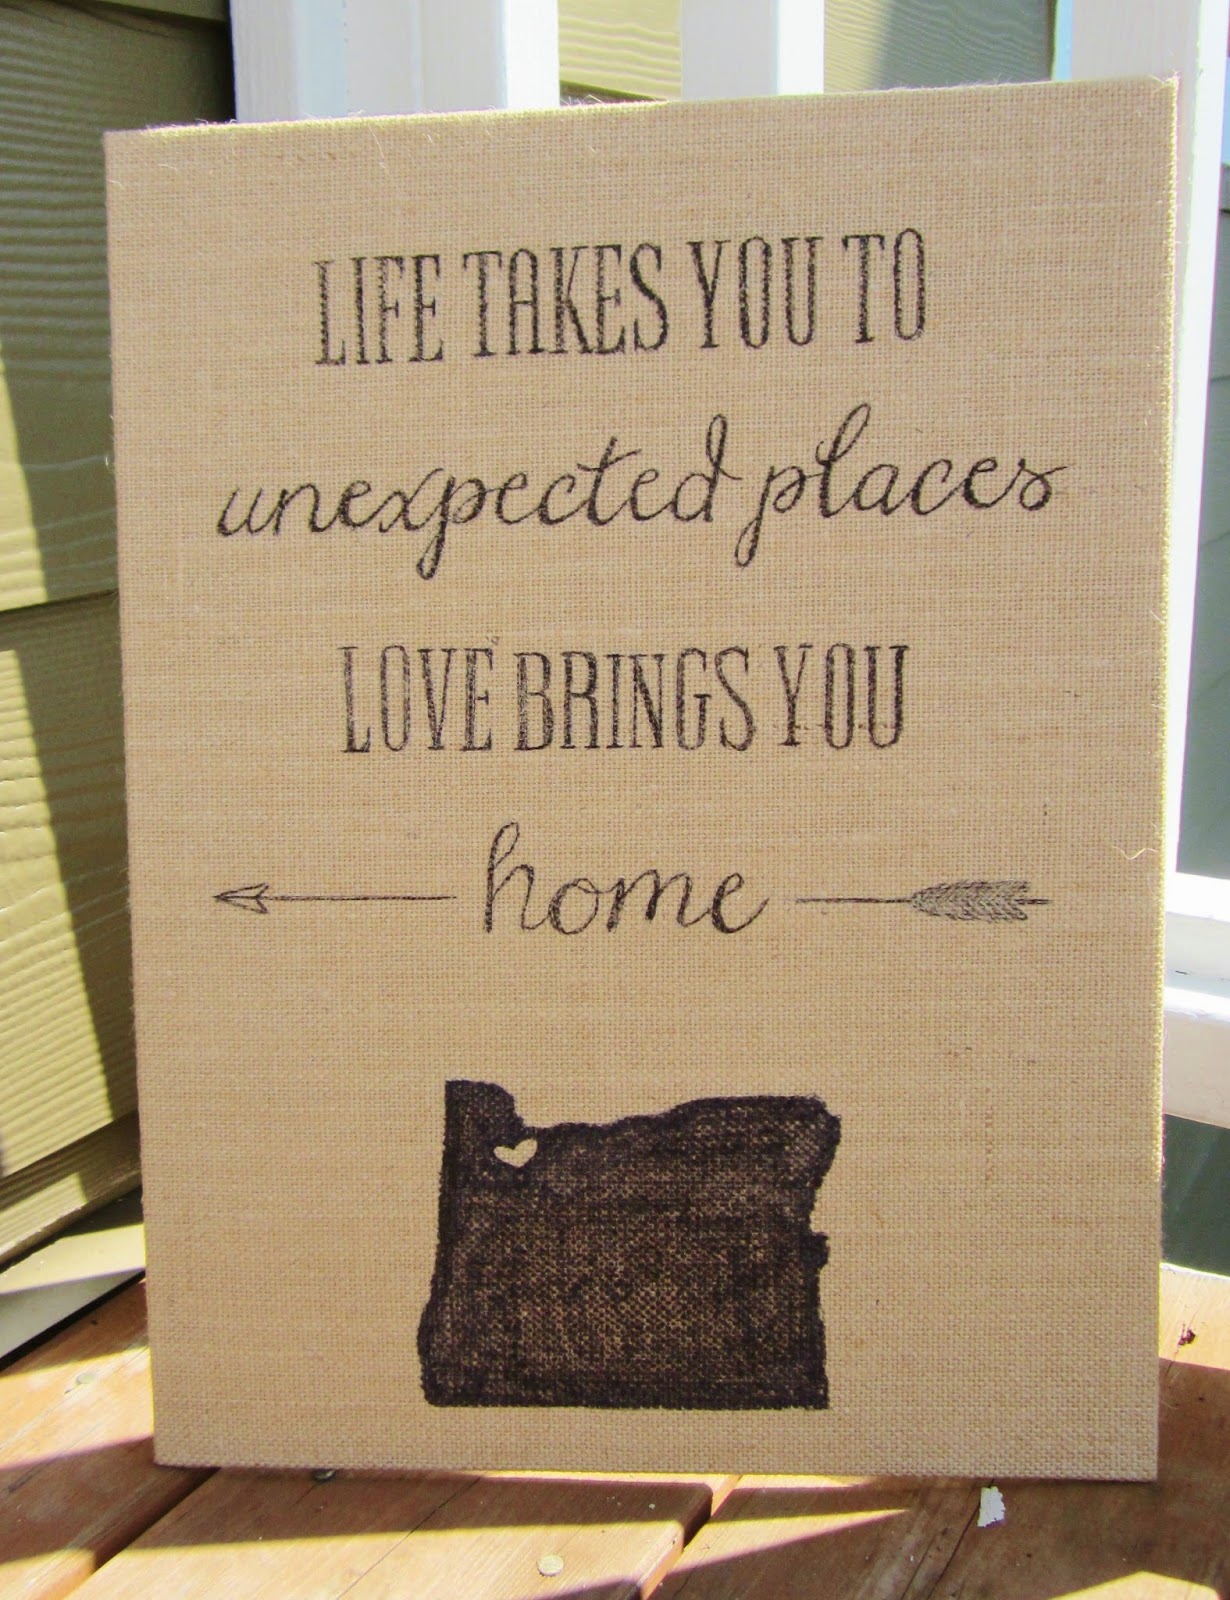
I knew I wanted a quote for our walls, but also knew I didn't want to freehand this one. Unlike a regular white canvas, I can't just paint over my mistakes. So I used everyone's favorite crafting resource, Pinterest, to go back to that long saved pin of mine. The site mentioned using wax paper, but I had freezer paper on hand, so that's what I used. And, boy did it work way better than I had hoped!
Here's my process (with tips along the way):
- Design an image on your computer. I used PowerPoint. Make sure that it will print the size you need. Since my canvas was bigger than my printer allowed size, I printed pieces of the image on multiple sheets.
- If there are any words or one-directional images, go into your printer settings to "mirror" the image.
- Don't quote me on this, but I assume any paper with at least one waxy side will work for this project. Basically, you don't want the ink to be allowed to soak into the paper and set. I used freezer paper.
- My paper came on a roll, like most kitchen paper, so you'll need to cut it into enough sheets to print your image. Straighten the sheets using the side of a table, so they don't want to roll up as badly.
- Make sure you are using an ink-jet printer for this. Laser/toner printers just won't do! We need the ink to pool on the surface of the paper, and since Laser printers don't actually use ink, that would be a problem.
- Carefully place a single sheet into the printer tray, making sure the waxy side will be the printed side. I had some major problems with this, because if the sheet wasn't placed well, it would start to print crooked, jamming the printer, and crinkling the paper. Luckily, freezer paper isn't expensive!
- Do not touch the ink! Be very careful removing the sheets from the printer, and do not stack them on top of each other. Like I mentioned earlier, the ink is just sitting on top of the paper, and it can be smeared very easily.
- Carefully place the sheets onto your canvas, ink side down. The paper is thin enough that you should't have much of an issue lining up the image correctly. Trim the paper if you need to. Then tape it to the canvas to hold it still.
- Use an object to begin rubbing the back of the freezer paper, transferring the ink to the canvas. You can use just about anything for this, I used the handle end of the scissors that happened to be next to me at the time. Rub, rub, and rub some more.
- Carefully lift up one side of one of the sheets, checking to see if there are spots you missed. If so, lay it back down, and keep rubbing. Repeat as necessary.
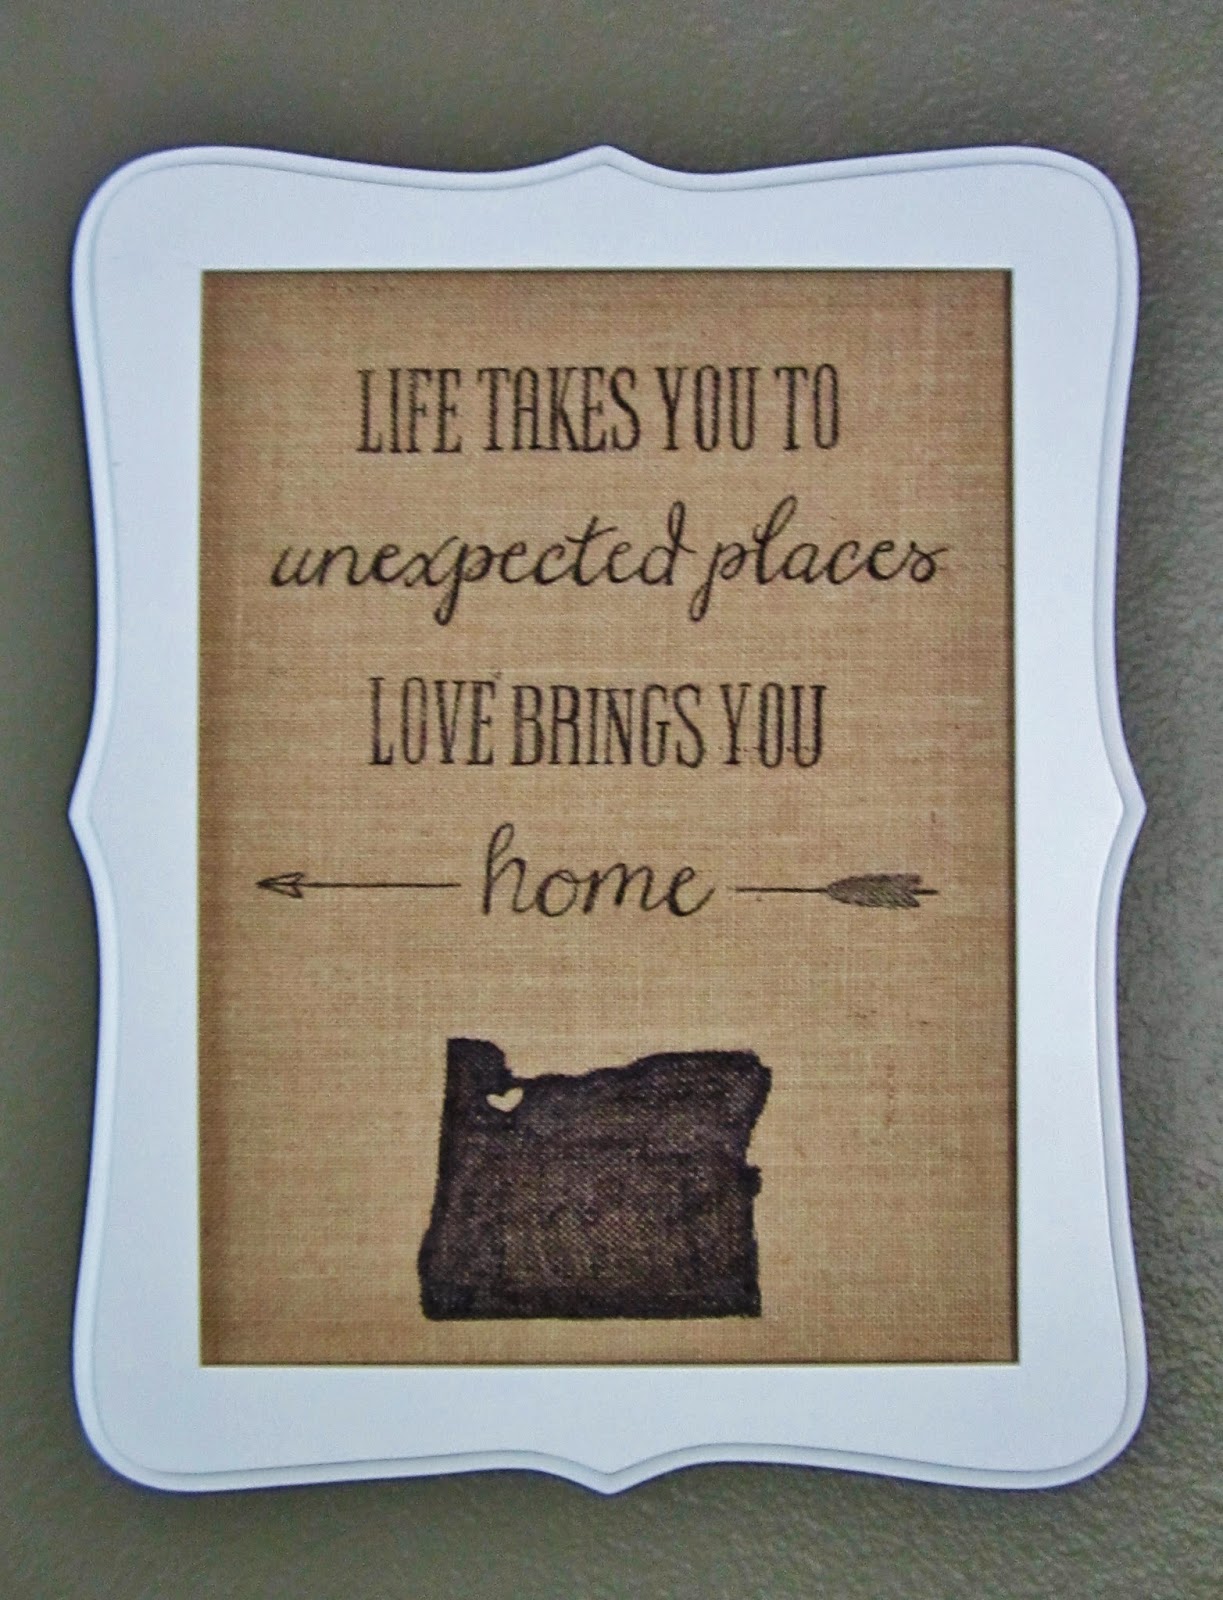
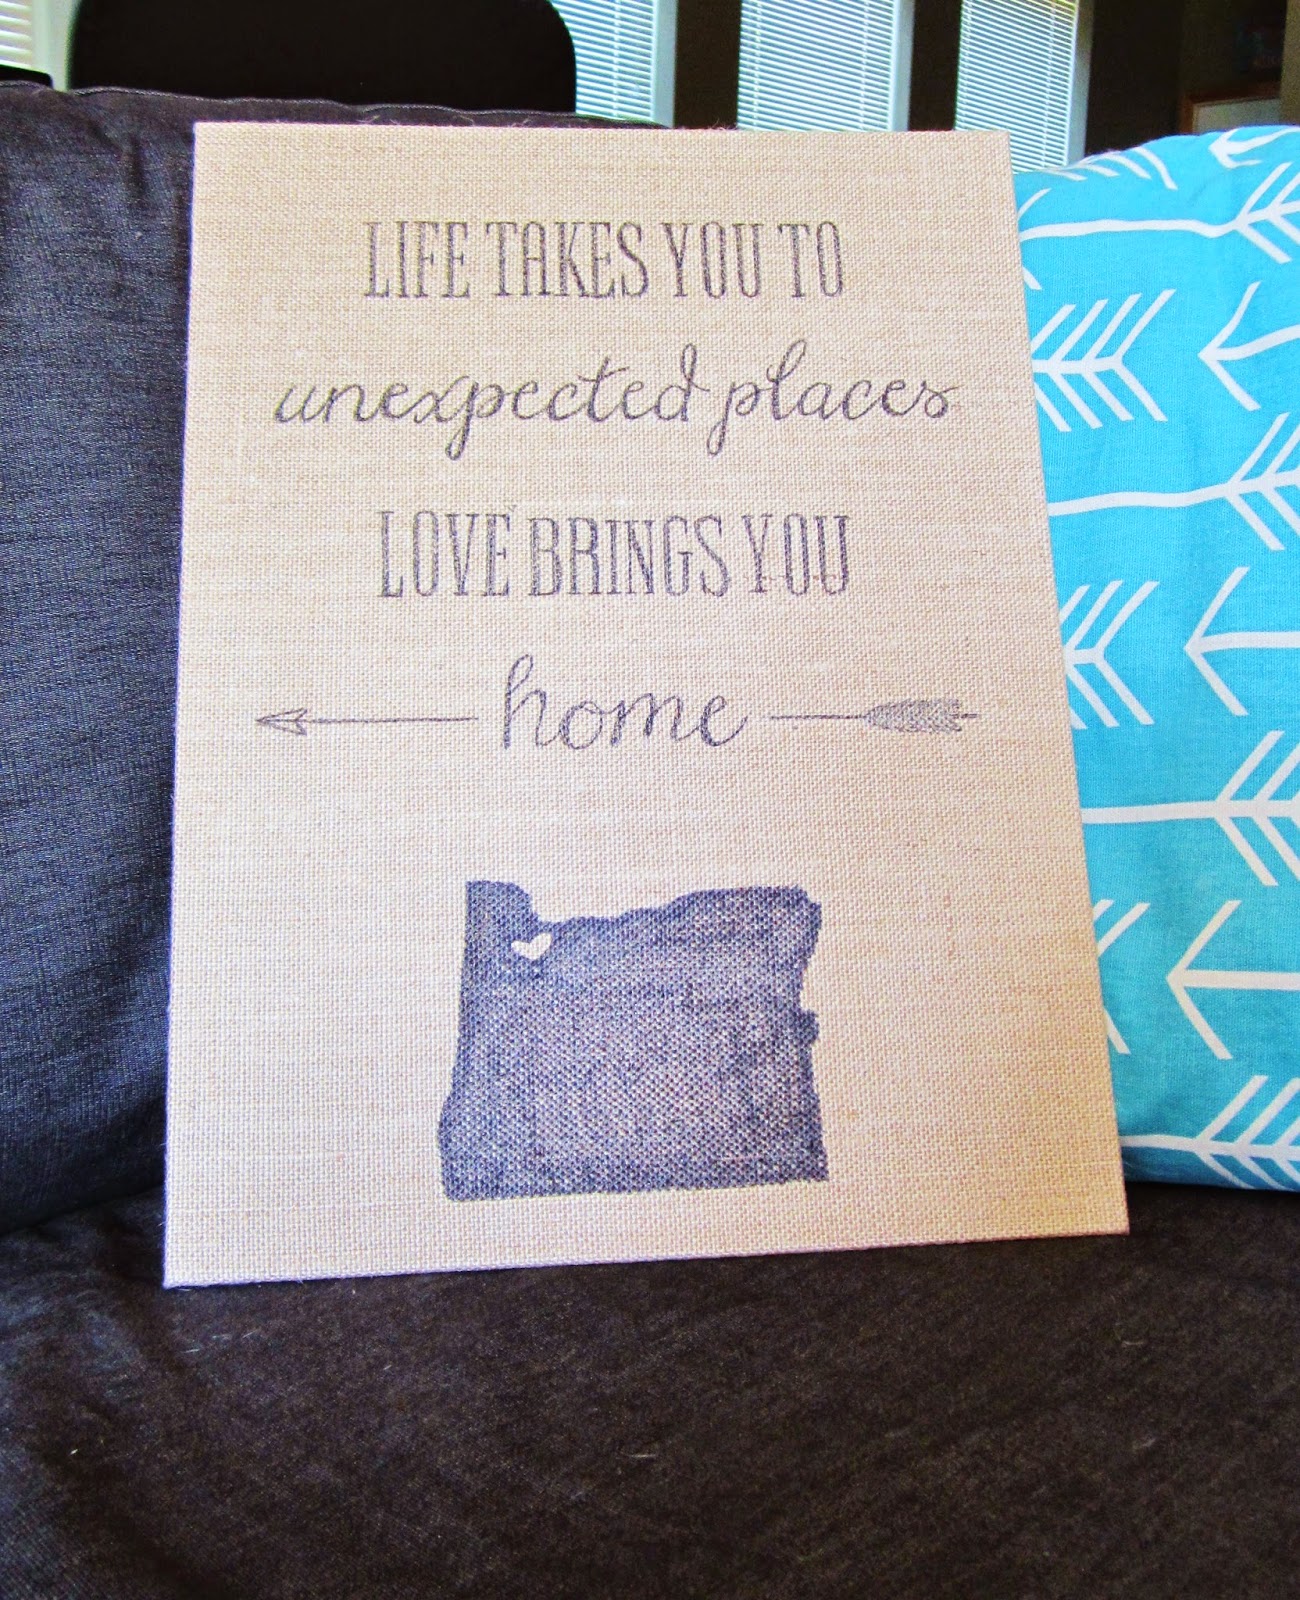
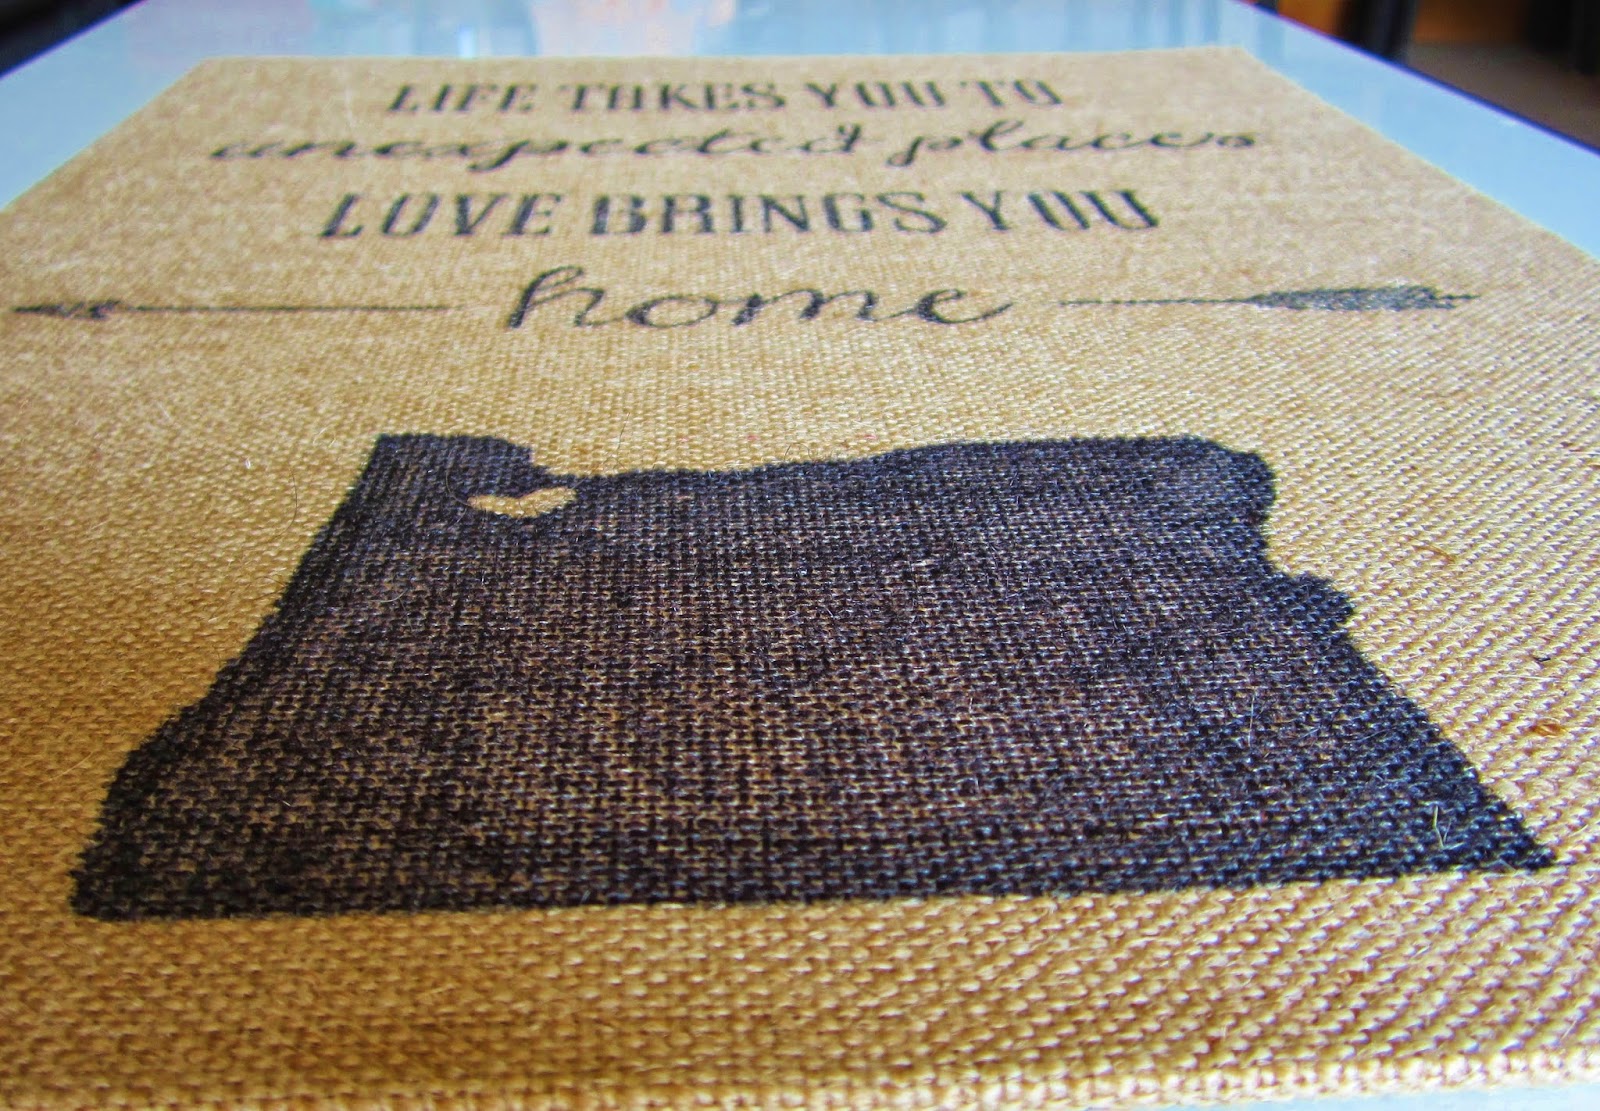
- Even though the transfer worked wonderfully, I wanted to make it stand out a little more. So I took a sharpie (fine point), and started tracing everything. At this point, it's basically coloring, so it's not hard, I promise. Go as slowly as you need to. I used a fatter sharpie on the Oregon image, since it was more surface area.
- Done! Now, how easy was that?? I now have a canvas that looks professionally printed, but only spent $1! Now, for the other two....
I promised tips, did I not?? I just wanted you to see all my pretty pictures first! ;)
~When working on a canvas larger than your printer, you have to piece together multiple prints like I did. But with wet, smudge-able ink, it's not always easy lining up all those parts and pieces. So when I split up my image, I duplicated part of it on each page. When I printed, I then trimmed as needed, and actually overlapped the pieces to line up the words perfectly.
~An easy way to do this is to tape the first piece to a window, then overlap/tape all the other pieces to that one. I say window, because then the repeated image is easily seen through both layers of paper to line up easily. It then becomes one, easier to deal with image that you can then transfer to your canvas.
~To get the image centered on your canvas, have a ruler handy. Gently place the image, ink side down, onto the canvas, but DO NOT PRESS yet. Since the paper is translucent, you can use the ruler to gently measure from the outsides of your image to the edges of the canvas. By tweaking and measuring, it's pretty simple to get the image centered. Then go ahead and press down to complete the transfer.
Happy Crafting!



I came across a rack of different sized burlap canvases for 70% off! Yup! I had a heck of a time choosing which size, since I didn't have a particular project in mind. But I finally settled for a 3-pack of 12" x 16" flat canvases. Three.. for $3! Yippee! canvas printing
ReplyDeleteYou can prevent the freezer paper from curling and crinkling by taping it to a sheet of regular printer paper using double-sided tape. I only taped the leading edge (the edge that gets pulled into the printer first).
ReplyDeletePhoto Canvas Collage prints are the ideal way to display lots of your stunning images without buying masses of bulky picture frames or cluttering up the house. With the use of smartphones and readily available digital cameras, we have become a nation of amateur photographers, using Instagram to capture our favourite moments. Out of this we now have some incredible photographs we are sure to treasure forever; the problem is there are just too many of them, making the task almost impossible when
ReplyDeletechoosing images to display in our homes
Photo Canvas Collage prints are the ideal way to display lots of your stunning images without buying masses of bulky picture frames or cluttering up the house. With the use of smartphones and readily available digital cameras, we have become a nation of amateur photographers, using Instagram to capture our favourite moments. Out of this we now have some incredible photographs we are sure to treasure forever; the problem is there are just too many of them, making the task almost impossible when
ReplyDeletechoosing images to display in our homes