Tuesday, August 19, 2014

Bread Charcuterie Board Decor

Hi all!

The (super easy) project I'm showing today I also tackled last week while hubbs was away. I must say, he was quite impressed with all I did while he was gone haha!

For weeks months now, I've had this charcuterie board. And yes, I did have to Google to figure out what it was even called. I may have started my search with "wooden kitchen paddle". Needless to say, I'm not the most well versed in kitchen lingo. This board was in the goodie bags at a design event a while back, and while I may not have known it's real use, I did want to do something with it!

So I transformed that simple hunk of wood into.... 


Who doesn't love Julia Child and her wise words?? 

I knew I wanted to paint it. I knew I wanted a food related quote. It's now perfect to hang in our kitchen! 
The process to do this was ridiculously simple.
Two words.
Mod Podge. 
I love the stuff! Granted, there was a tad more to it than that, but not much. I first painted the board black. You can paint yours any color your little heart desires. I've always wanted a sleek, modern, kitchen with punches of red, so I didn't distress it at all, but you easily could. I then found this quote, and arranged the words in PowerPoint into a configuration I liked, making sure it'd fit within the board when printed. 

After the paint is dry and you've printed and cropped your image, out comes the Mod Podge. I gave the painted wood a couple of coats using a foam brush, as well as the back of the paper. I wanted there to be a good barrier between the black paint and the white paper. I'm not sure if this step is necessary, but I just wanted to make sure the black didn't show through the paper. 

When all of that dried, I added another coat to the board, and carefully placed the paper where I wanted it. While that was still wet, I added a thin coat of Mod Podge to it all. You'll start to see bubbles in the paper at this point. I used an old credit card to carefully smooth all of those bubbles out. This is an important step, because if you don't get those bubbles out now, they'll be there forever. Once I was satisfied that I got the bubbles, I let the whole thing dry. 

Over the next day or so, I added a few more coats of Mod Podge, just to make sure the paper was well coated and adhered to the board. My opinion was that more coats are better than too few. 

See, that wasn't hard at all, was it? I haven't decided how I'd like to hang it yet. I'm thinking my options are to add hanging hardware to the back, or tie a fun ribbon to the hole in the board. What would you do? 


Sunday, August 10, 2014

Transferring Images on a Burlap Canvas

Hey all!

Hubbs is away this week, and I frankly had nothing better to do than craft! Saturday, I made my way over to Michael's (and Home Goods... and Taco Bell....) to wander around and come up with something to do. Luckily for me, it was SALE time! My favorite as always! I was beyond thrilled when I came across a rack of different sized burlap canvases for 70% off! Yup! I had a heck of a time choosing which size, since I didn't have a particular project in mind. But I finally settled for a 3-pack of  12" x 16" flat canvases. Three.. for $3! Yippee!


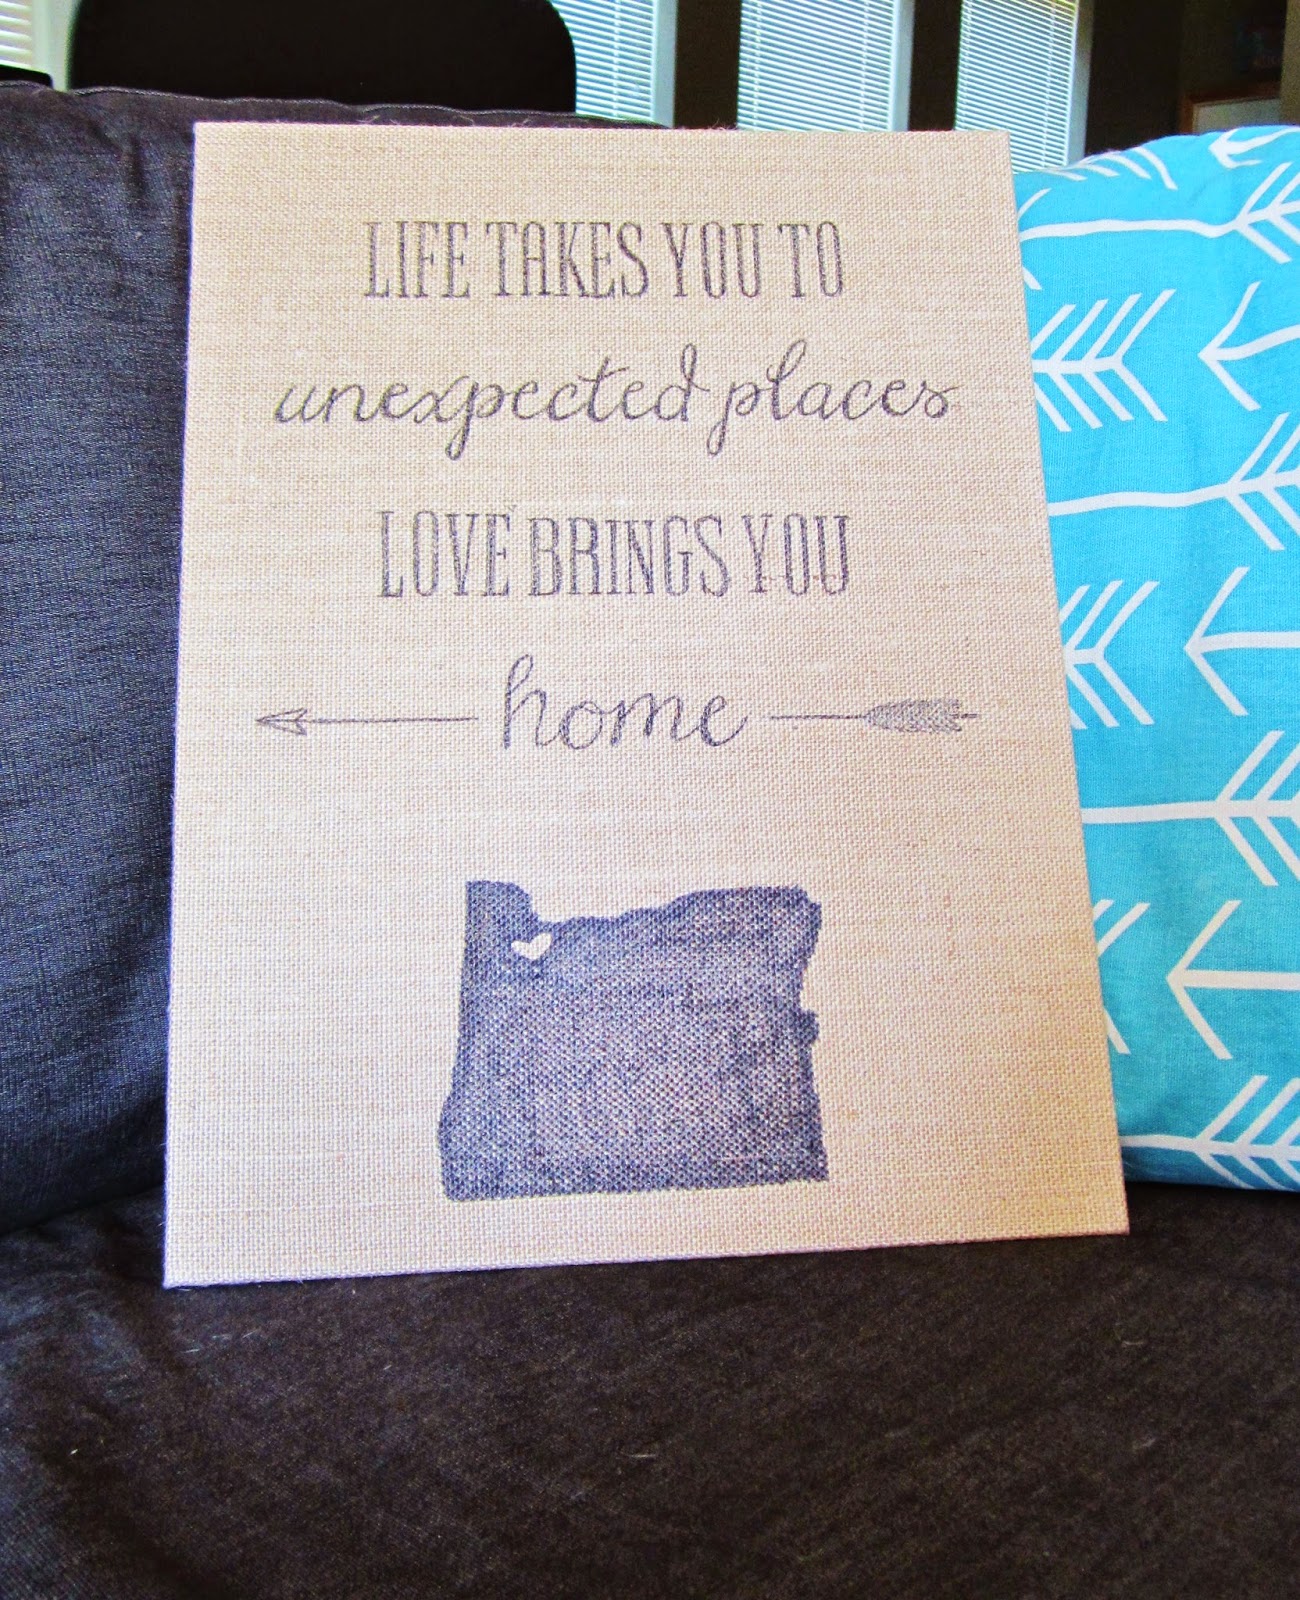
Today I finished my first. What I'm going to do with the other two is a secret still up in the air for now. This was something I had never tackled before, but really wanted to for a while now. Using freezer paper to transfer a printed image or words onto fabric.

**Since originally posting, I've tackled this project a few other times, and have included tips and tricks at the bottom. So don't forget to scroll down so you become a pro way faster than I did! :) **


I knew I wanted a quote for our walls, but also knew I didn't want to freehand this one. Unlike a regular white canvas, I can't just paint over my mistakes. So I used everyone's favorite crafting resource, Pinterest, to go back to that long saved pin of mine. The site mentioned using wax paper, but I had freezer paper on hand, so that's what I used. And, boy did it work way better than I had hoped!

Here's my process (with tips along the way):

  • Design an image on your computer. I used PowerPoint. Make sure that it will print the size you need. Since my canvas was bigger than my printer allowed size, I printed pieces of the image on multiple sheets. 
  • If there are any words or one-directional images, go into your printer settings to "mirror" the image. 
  • Don't quote me on this, but I assume any paper with at least one waxy side will work for this project. Basically, you don't want the ink to be allowed to soak into the paper and set. I used freezer paper. 
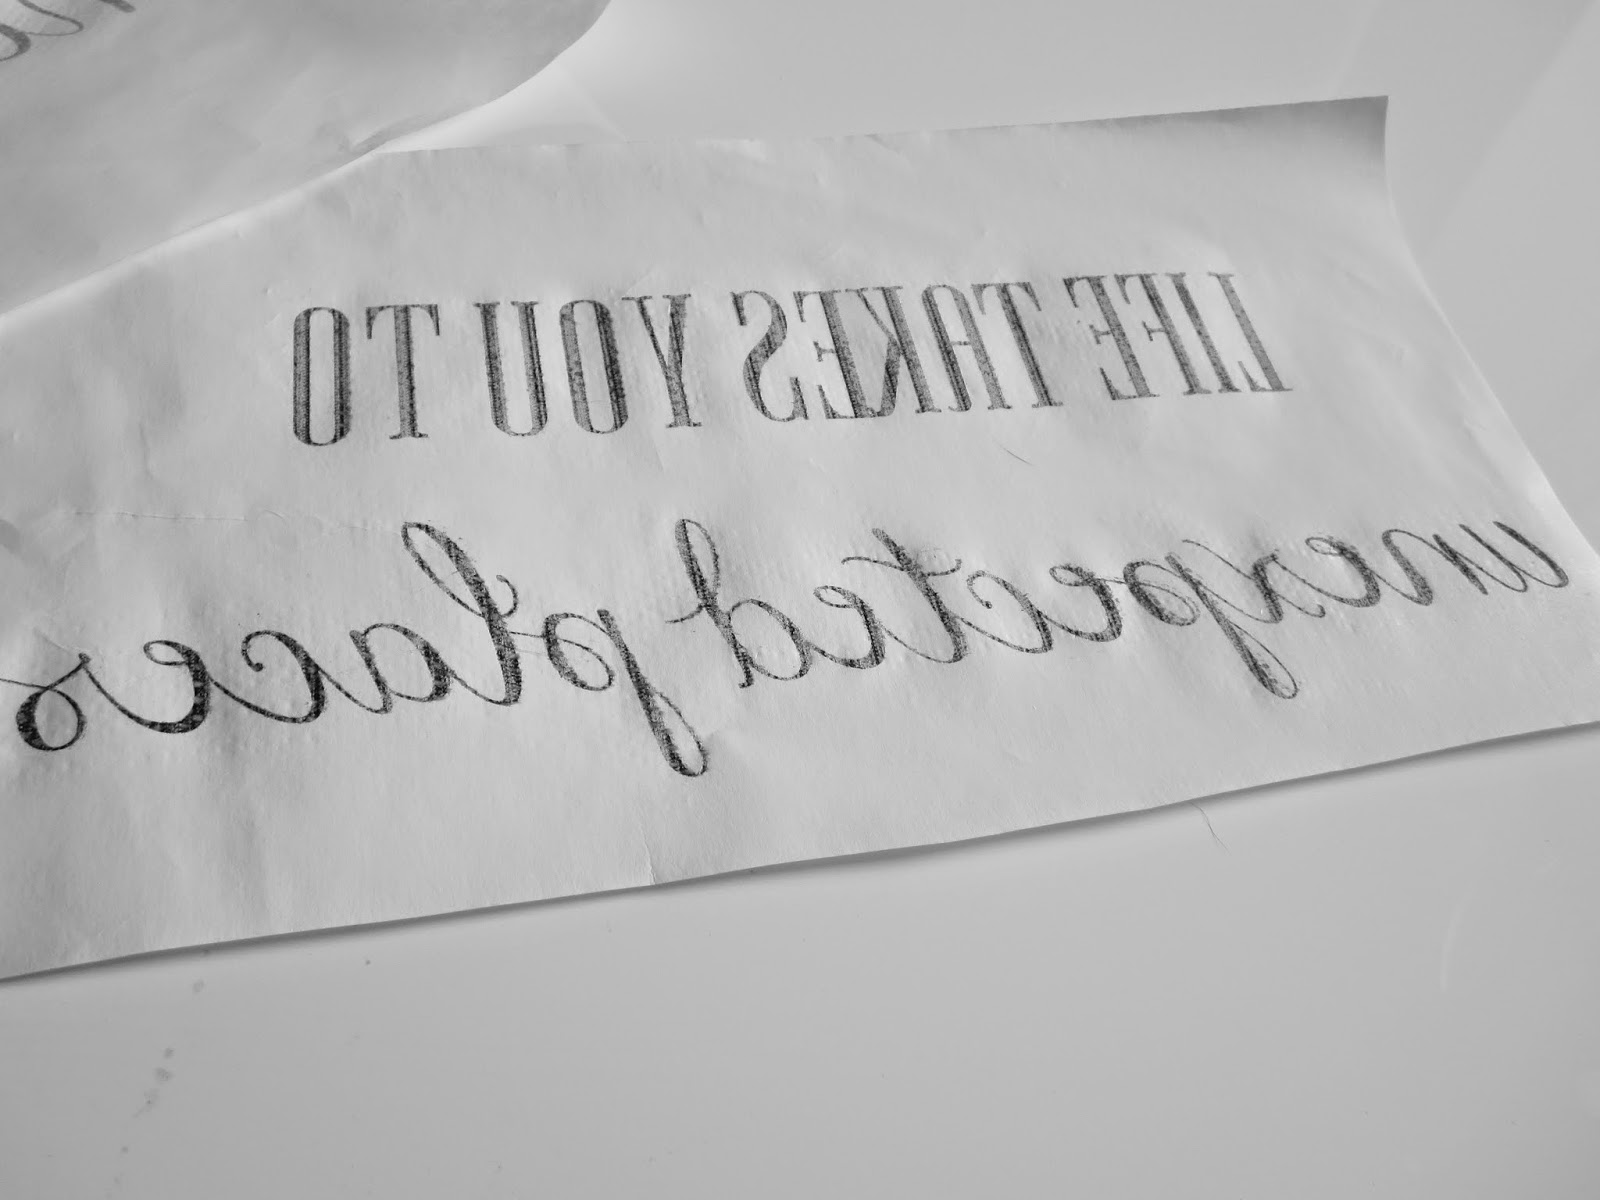
  • My paper came on a roll, like most kitchen paper, so you'll need to cut it into enough sheets to print your image. Straighten the sheets using the side of a table, so they don't want to roll up as badly.
  • Make sure you are using an ink-jet printer for this. Laser/toner printers just won't do! We need the ink to pool on the surface of the paper, and since Laser printers don't actually use ink, that would be a problem. 
  • Carefully place a single sheet into the printer tray, making sure the waxy side will be the printed side. I had some major problems with this, because if the sheet wasn't placed well, it would start to print crooked, jamming the printer, and crinkling the paper. Luckily, freezer paper isn't expensive! 
  • Do not touch the ink! Be very careful removing the sheets from the printer, and do not stack them on top of each other. Like I mentioned earlier, the ink is just sitting on top of the paper, and it can be smeared very easily. 
  • Carefully place the sheets onto your canvas, ink side down. The paper is thin enough that you should't have much of an issue lining up the image correctly. Trim the paper if you need to. Then tape it to the canvas to hold it still. 
  • Use an object to begin rubbing the back of the freezer paper, transferring the ink to the canvas. You can use just about anything for this, I used the handle end of the scissors that happened to be next to me at the time.  Rub, rub, and rub some more.
  • Carefully lift up one side of one of the sheets, checking to see if there are spots you missed. If so, lay it back down, and keep rubbing. Repeat as necessary. 
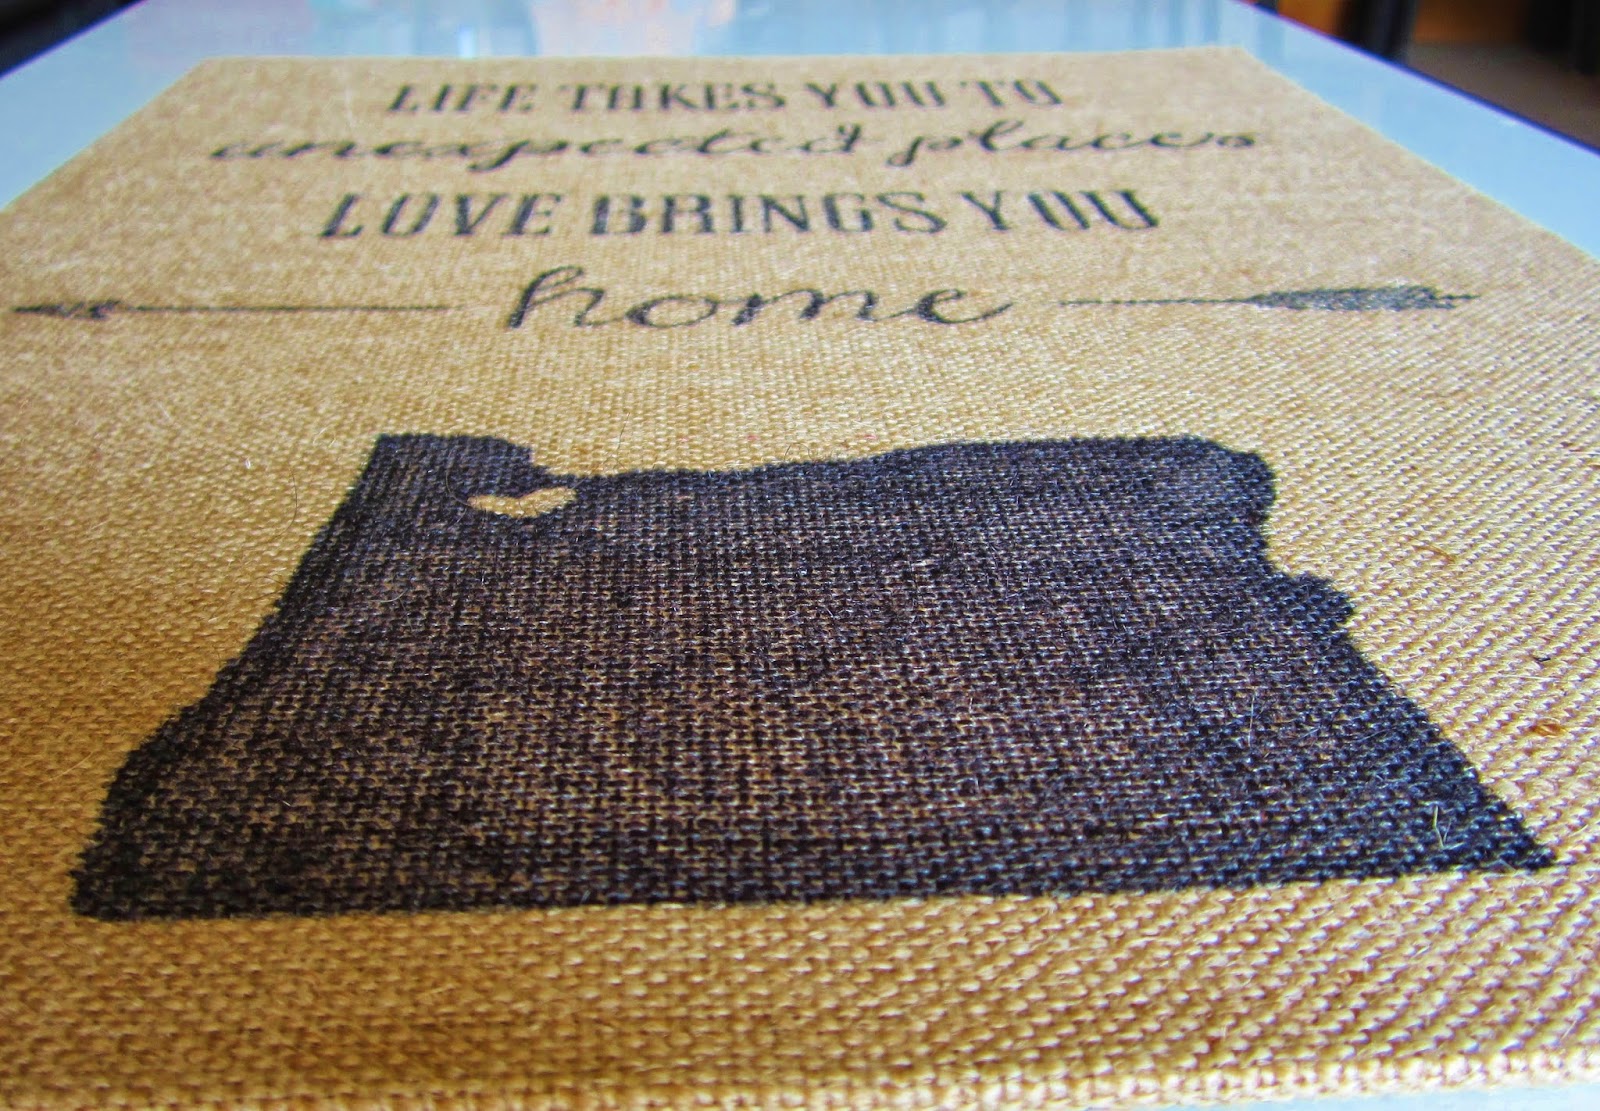
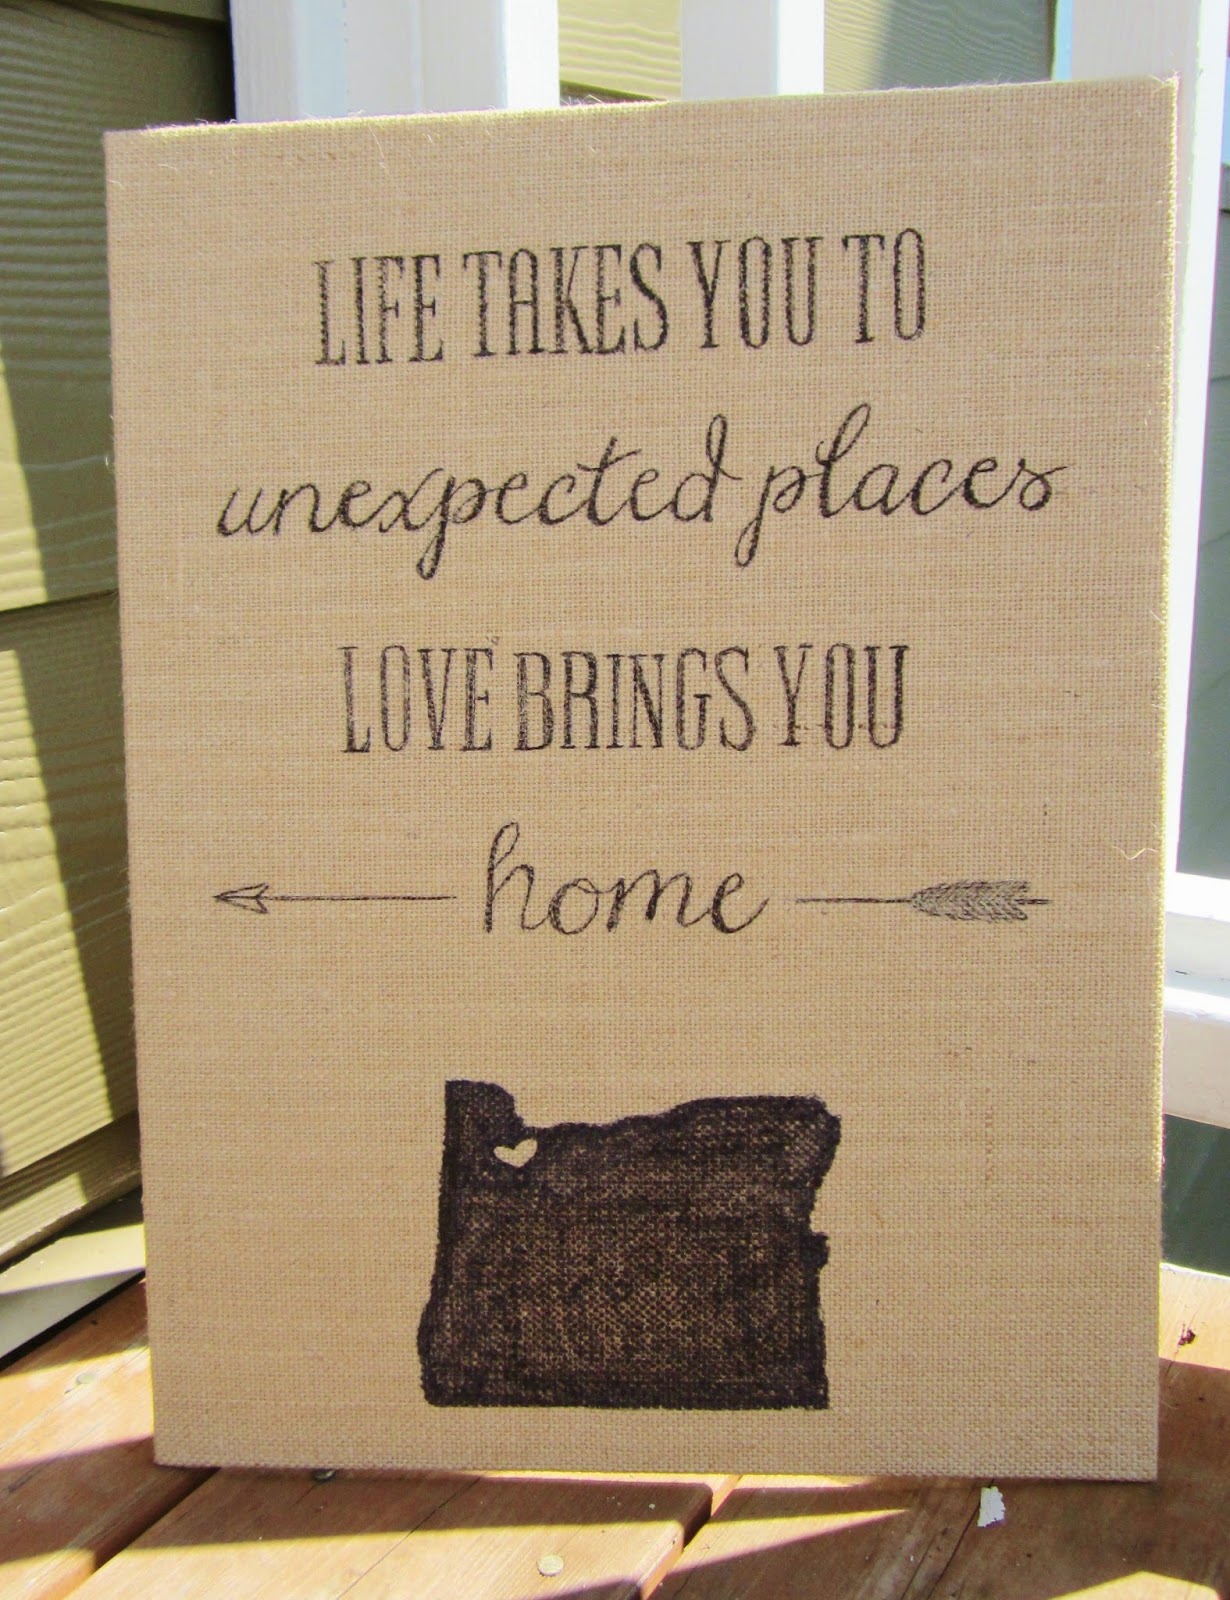
  • Even though the transfer worked wonderfully, I wanted to make it stand out a little more. So I took a sharpie (fine point), and started tracing everything. At this point, it's basically coloring, so it's not hard, I promise. Go as slowly as you need to. I used a fatter sharpie on the Oregon image, since it was more surface area. 
  • Done! Now, how easy was that?? I now have a canvas that looks professionally printed, but only spent $1! Now, for the other two.... 
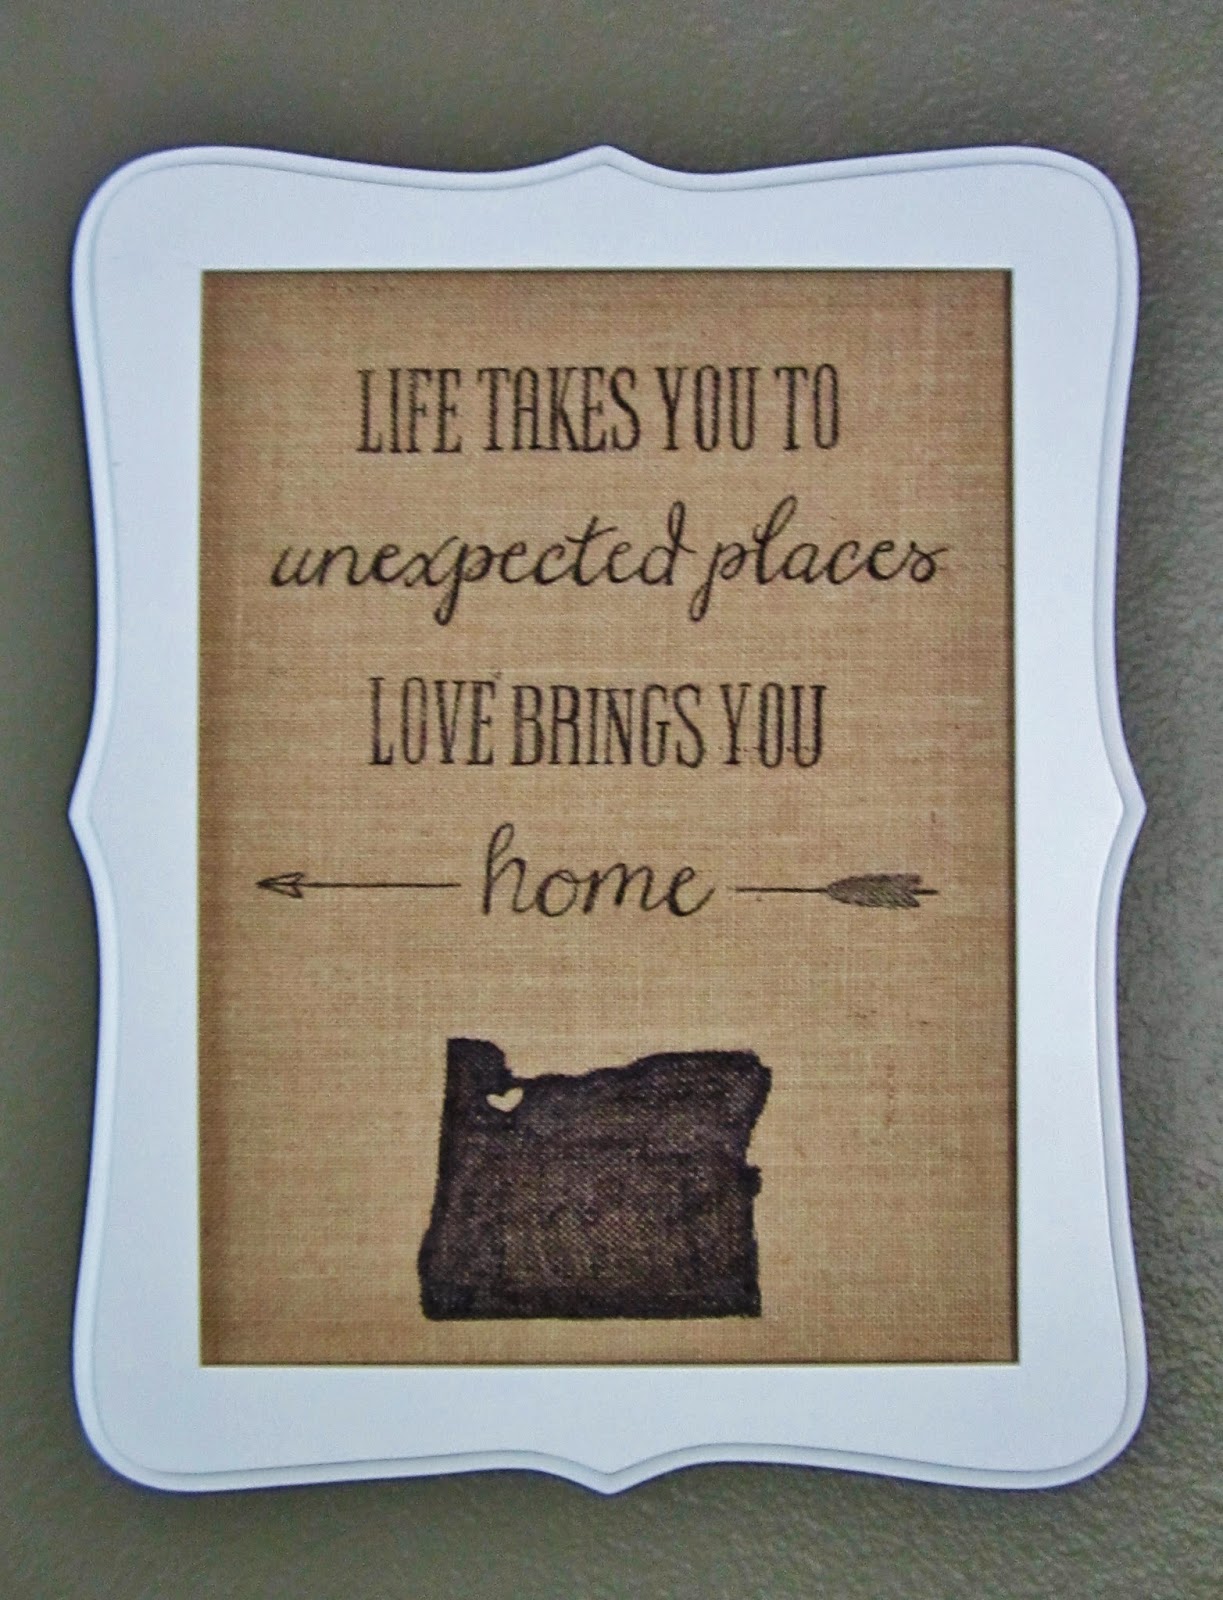


I promised tips, did I not?? I just wanted you to see all my pretty pictures first! ;)

~When working on a canvas larger than your printer, you have to piece together multiple prints like I did. But with wet, smudge-able ink, it's not always easy lining up all those parts and pieces. So when I split up my image, I duplicated part of it on each page. When I printed, I then trimmed as needed, and actually overlapped the pieces to line up the words perfectly. 

~An easy way to do this is to tape the first piece to a window, then overlap/tape all the other pieces to that one. I say window, because then the repeated image is easily seen through both layers of paper to line up easily.  It then becomes one, easier to deal with image that you can then transfer to your canvas.

~To get the image centered on your canvas, have a ruler handy. Gently place the image, ink side down, onto the canvas, but DO NOT PRESS yet. Since the paper is translucent, you can use the ruler to gently measure from the outsides of your image to the edges of the canvas. By tweaking and measuring, it's pretty simple to get the image centered. Then go ahead and press down to complete the transfer. 

Happy Crafting! 

Friday, May 30, 2014

Friday Favorites


Happy Friday! Was anyone else counting down the hours this week until the clock struck 5? I sure was! And during this relaxing hour on a Friday evening, I want to introduce a new segment to my blog!


I've been toying with this idea for a while, and I've realized, there are a ton of things each week that I want to share with my little corner of the blog-o-sphere. Being in the design business, I can't get enough of the beautiful things that pass my way. They may change as I evolve this segment, but the core will be the same. Awesome stuff that I want to share with you!

Let's begin, shall we?

{favorite} design element

Ann Sacks Tile - "Tidewater" in "Sand"
 The wall in this photo? That is tile, my friends. Amazing, textured, large format (31" x 71") ceramic tile. We just made this stuff (in white) our new office kitchenette backsplash. I am in absolute heaven with this stuff. The best part? It's less than $30/sf! The texture is subtle enough that it's a breeze to clean, but prominent enough that the light catches it in amazing ways. Fireplaces, shower walls, how would you use these tiles?


{favorite} quote

I thought I'd start this new segment here with one of my favorite quotes of all time. When I go through my home, I often think of this, and ditch what doesn't fall into these two categories. It's such a simple motto, but it really is powerful. How many things in your home aren't either useful or beautiful? And why are they still there??


{favorite} deal

Decor Steals Website
If you haven't heard of Decor Steals yet, get your butt on over there! Seriously, why are you still reading this?? They always have a handful of awesome home decor items for crazy awesome prices, and have a new special every day! While I haven't bought anything yet (le sigh), I can't wait to get my hands on some of their amazing and beautiful items. 


{favorite} color

Benjamin Moore - Affinity Collection AF100 "Pashmina"
I think my boss and I can agree on our obsession over this color. This is the love child of grey and beige. Pashmina by Benjamin Moore is a perfect neutral warm grey that seems to go with everything. We love it so much that we've put on multiple clients' walls, and even on kitchen cabinets!


{favorite} laugh

By Artist Whatshisname
Who doesn't want a pooping dog lamp? Seriously though. I couldn't make this ish up if I tried, check out the link in the caption. The floor lamp, dubbed "Good Boy" is a great dane, while the table lamp, "Good Puppy", is a chihuahua. The most disturbing best part? The poop doubles as the on/off button.  You're welcome.

Friday, February 14, 2014

Happy Valentine's Day!

Whether you are spending the day with your favorite person or pet, or simply indulging in the day's sweet treats....


Even my front door is feeling the love!

xoxo Trena

Monday, January 20, 2014

Between Holiday Decor

Christmas and New Year's celebrations are over. And people look at your place funny when you leave the decor up. The "Happy Holidays" on my front door simply wasn't cutting it anymore.

Valentine's day is still a month away, too early for hearts and flowers. Again, people look at you funny.

What shall a DIY girl with a chalkboard on her front door do??

If you want to add a little cheer to your household between holidays, simply use the theme of the season! I had a heck of a time finding a winter quote that didn't sound Christmas-y, but finally found the perfect one (thanks Google)! My husband and I LOVE going up to the mountains to ski and snowboard, so it's only fitting to share that love with whoever might happen to come to our front door!


Tell me, how are you decorating your home between the holidays? Share here!